Look at this large dent damage on the rear side panel of this Ford Galaxy. This damage was actually caused by somebody kicking the panel. The customer obviously is not pleased seeing there's a big dent on the side panel.There are some light scratches around as well. He called me to come out and remove this dent.
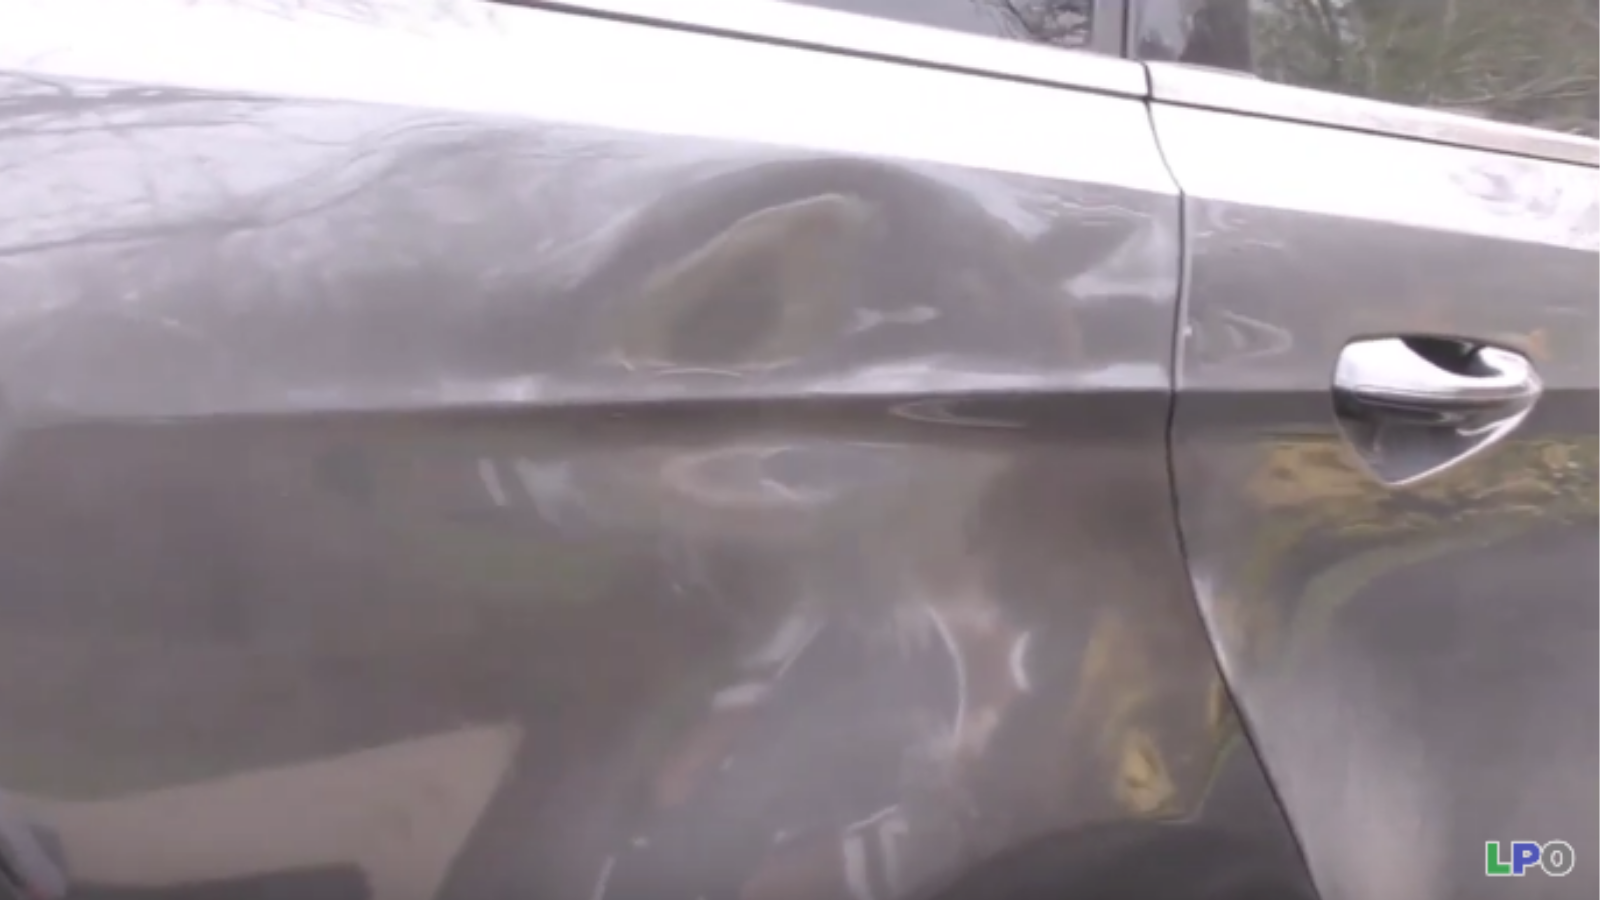
Soft, Complex Dent
As you can see, moving around the panel it's quite a large dent. Thankfully it's relatively soft but quite complex. It has taken across the body line and really put distortion across the whole panel right down here on the dog leg section. Across that body line and the upper wing it has quite a lot of distortion from right by the rear back door to the rear lamp. Thankfully it's fairly soft but it certainly is a bit complex with the amount of different things going on with this particular repair. With my line board set up you can see the tension and that crown caused by the dog leg section, just here where those lines pinched together.
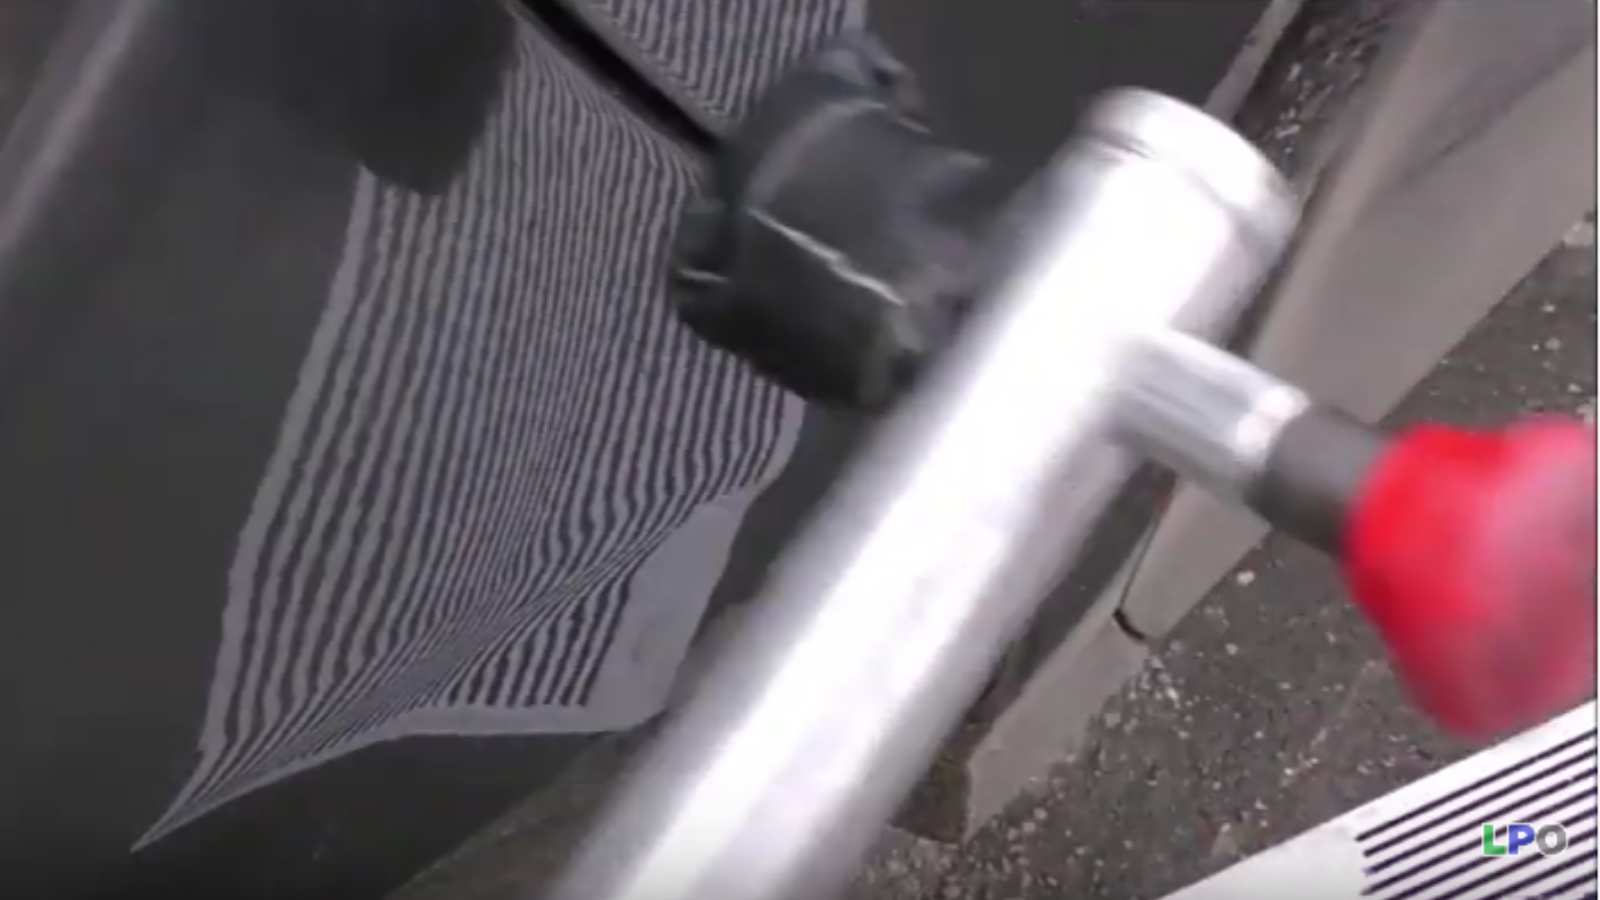
So I'm going to start off with this repair just releasing some tension. As I speed up this next section watch those lines move. So when it's sped up you can really see the movement on that panel. Watch that tension being released.
I'm now switching to my cold glue and I'm just going to start off giving it a few light pulls, seeing how the panel responds. I'm choosing to do this repair today completely from the outside partly due to not particularly great access from the inside but also a bit of a challenge. Can I remove this dent fully with just glue pulling tactics, with cold glue, hot glue. A whole lot of tapping down and also plenty of blending.
Power Combination
This is the Robo Mini lifter with a gangrene tab to pull out a low spot just on that dog section. Now this combination really gives a lot of power. Watch the lines just above the feet of the robo lifter and see that kind of shape for being pulled out. Now you do have to be careful because there's so much power you can create with this combination.
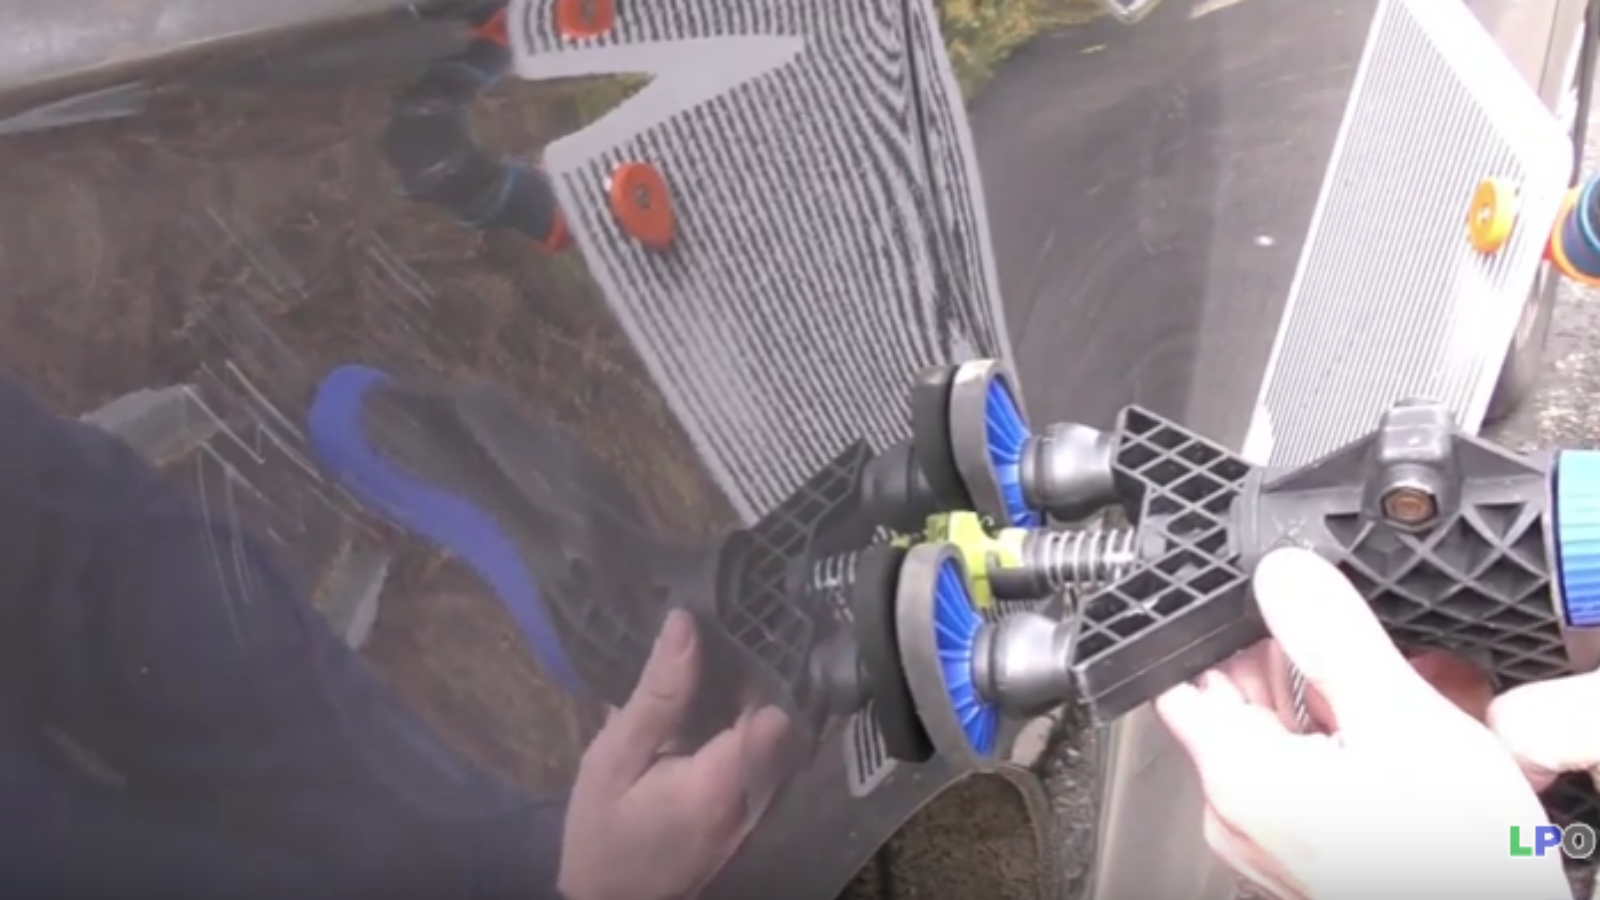
I got a bit carried away and pulled this dent far too high. I put a big high spot in it. Much more than I intended to, thankfully it's saveable. So a lot more kind of tap down work added into my repair but managed to save it. Look at those lines pinching together, the strength in that Robo lifter, I definitely pulled it just a little bit more than I planned to.
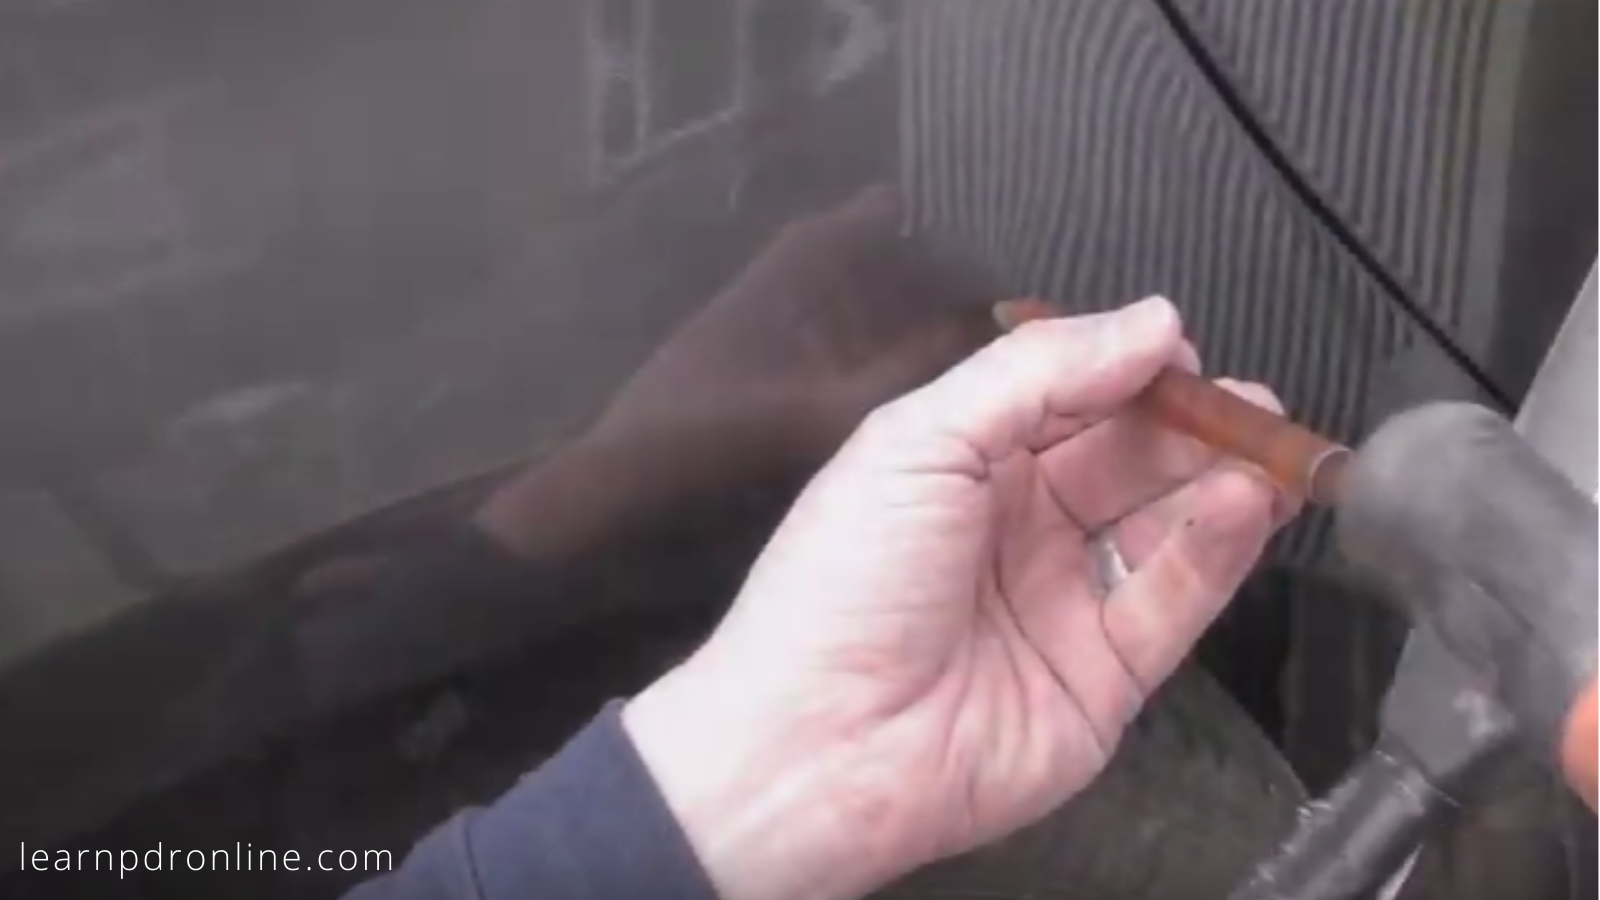
So a quick tap down to get me back up to speed before focusing on the remainder of the dents. Now I'm looking at the upper section of the rear wing panel just behind the rear door. I've got quite a long crease that goes from the top body line right down to that second body line. Once again I'm using those gangrene tabs with a rubber lifter but I'm being just a little bit more gentle with my pulse. I'm basically going to pull along that crease line, one tab up after the other. Gently work my way down the panel. Now in this process I do create some high spots. With this particular area it's intentional.
Read the Lines
As I run the camera across we can see that crease starting to come out and you can just see here those lines pinched together. That has brought my panel up creating a slight high spot. Now that is a preference when I'm doing this type of repair. I'll bring it slightly high to allow me to tap it down nice and evenly. I just think it makes it a little bit easier to read the lines and really see the shape of the panel.
So I'm now highlighting the top section of the rear wing whilst the majority of that big kind of soft dent has popped out. it's definitely left a hollow of distortion across the panel right from this rear lamp where I'm working to the top edge of that rear door. Now throughout this repair I probably spent at least an hour, maybe an hour and a half just tapping alone.
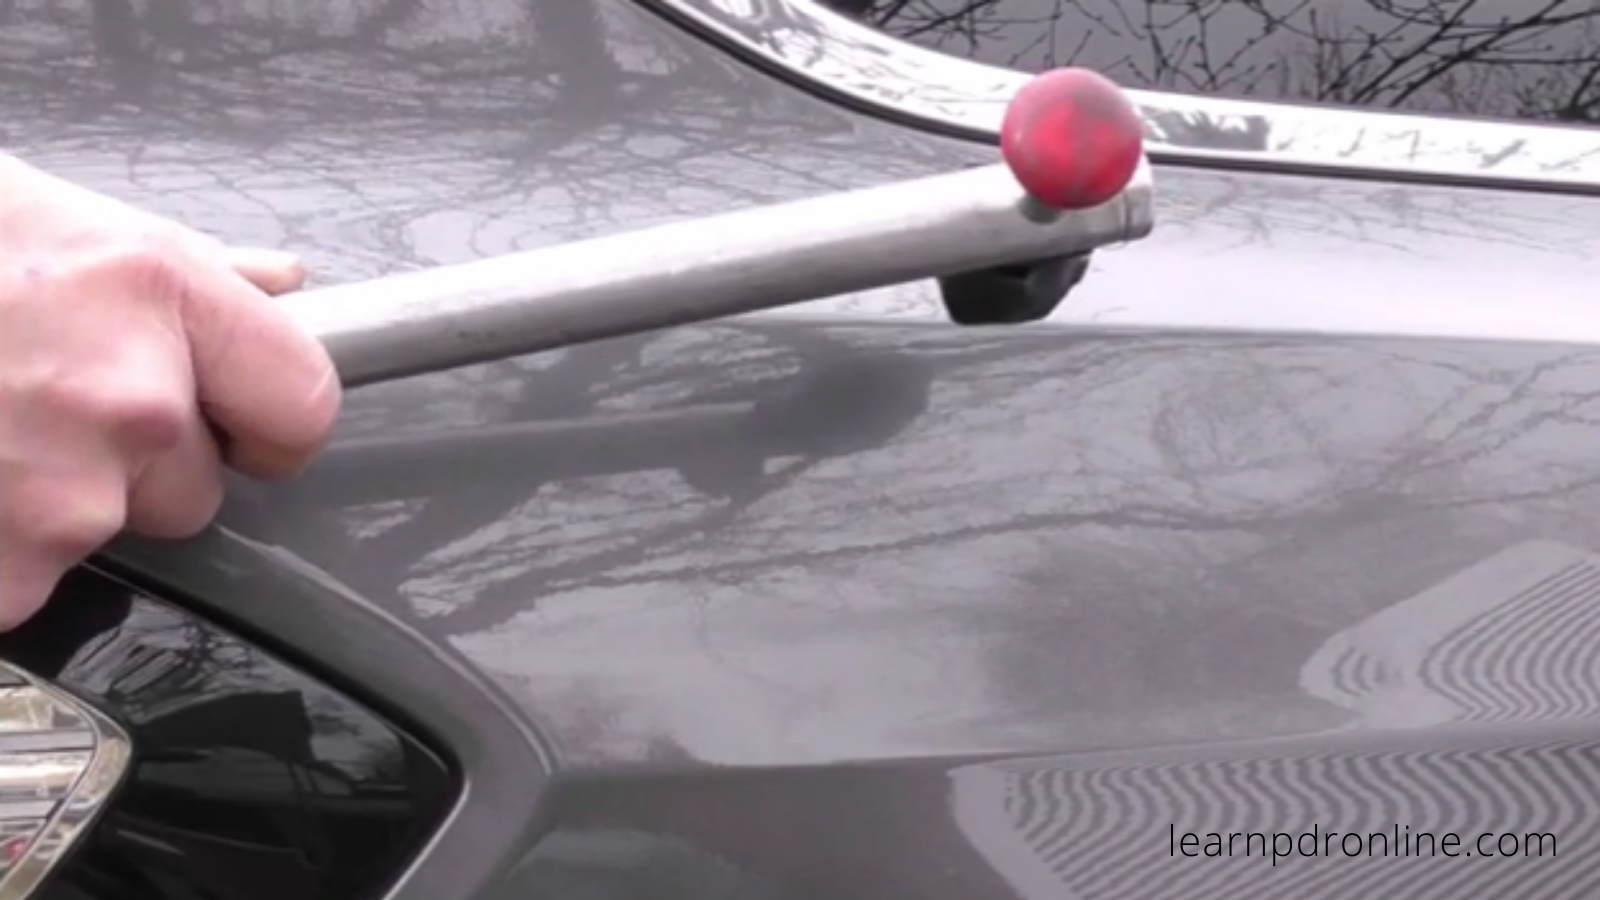
So the tap down with my CrowCarb tap down, the root beer tap down and also using my blending hammer with the bullet tip on the ends. As I tap down along with some blending techniques as well, now again speed up you can really see the movement, just how often I'm moving my line board, just how often I'm moving my head and my body position. Really making sure I can read the dent from every single angle.
Back in Shape
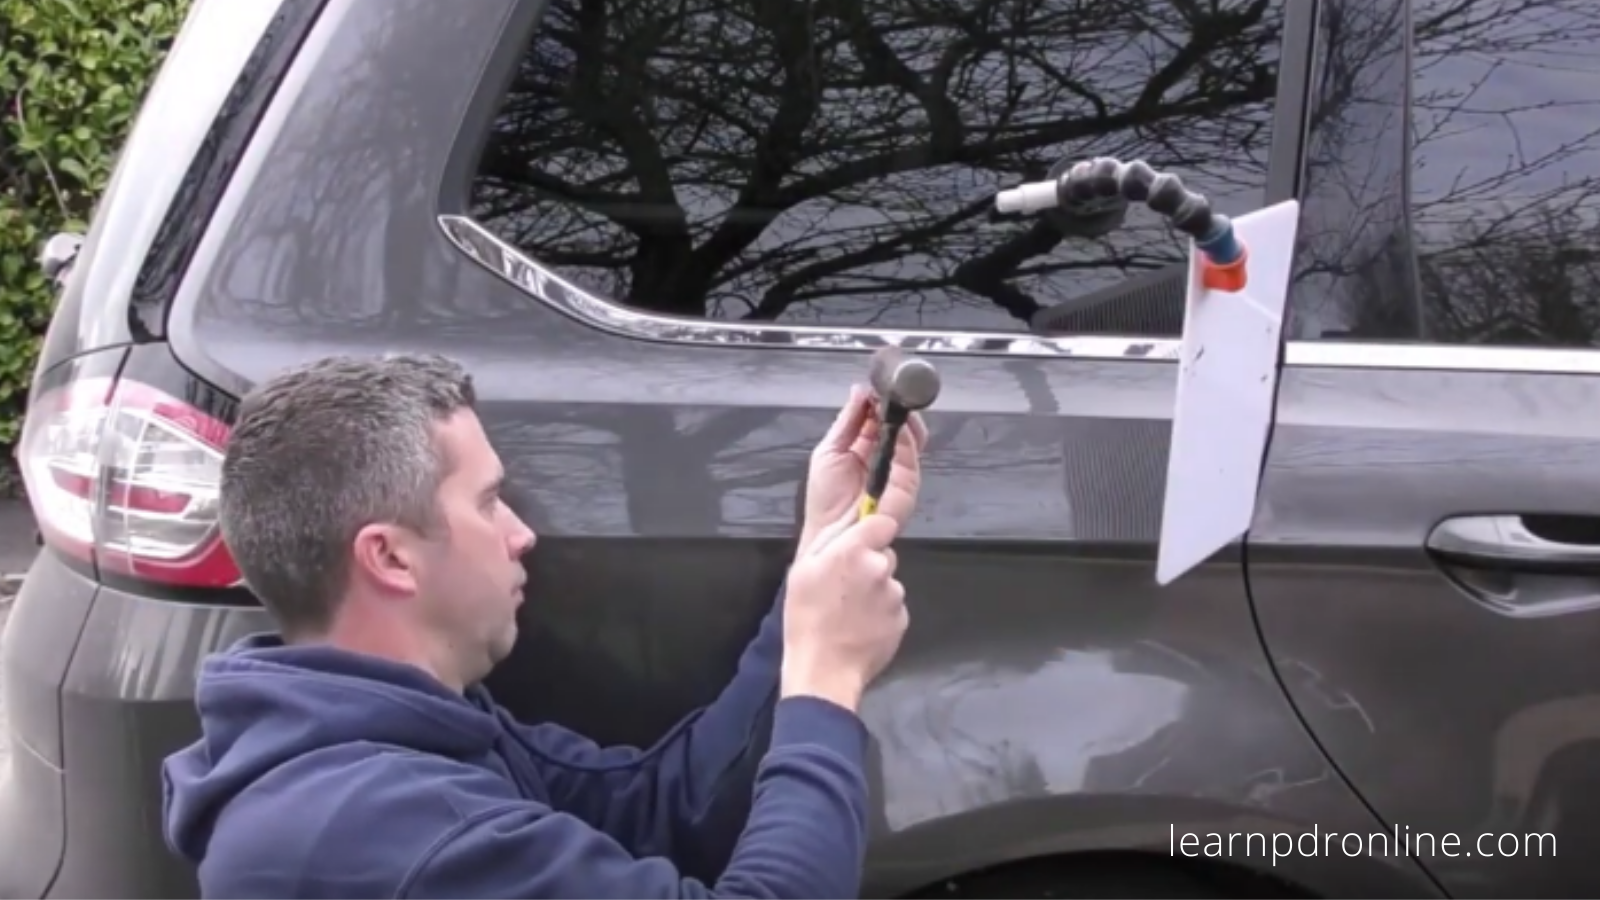
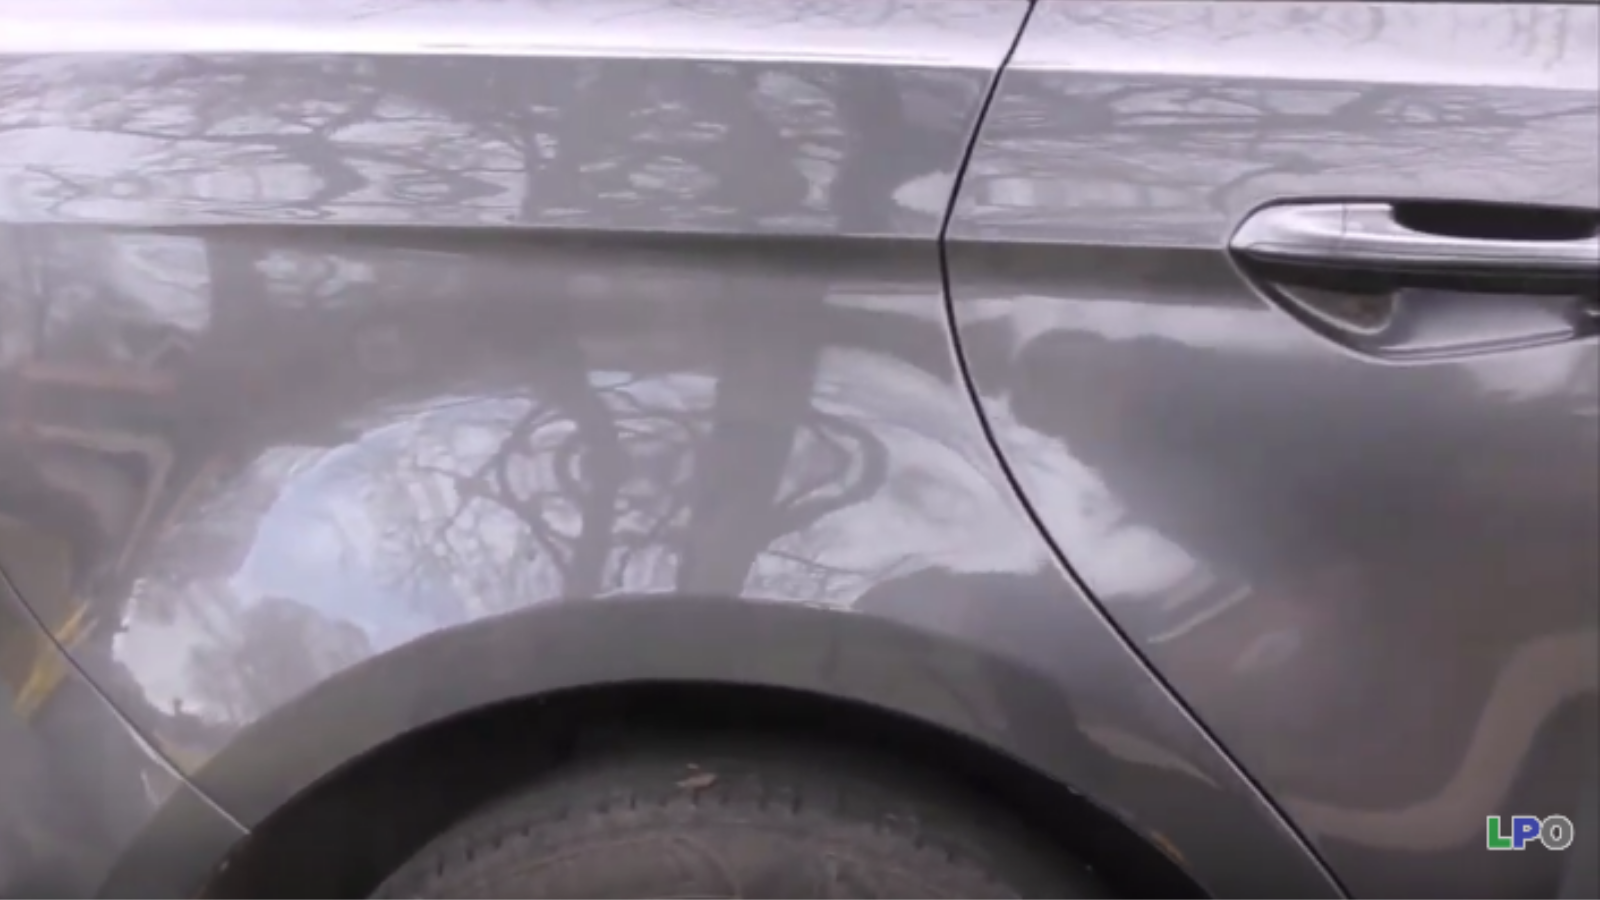
It's starting to come out now, the main bulk and the main shape is back. There's still a little bit of distortion particularly along that top line. So I'll probably spend quite a bit of time here just in terms of tapping down and blending. What I'm trying to do now is make sure that I get this rear wing panel consistent with the rest of the vehicle.I'm having a look down at that driver's side rear door and the front door, making sure that I keep the paint finish, the texture and the general shape of the panel in line with the rest of the vehicle.
Join This PDR Journey!
So if you're interested in learning how to repair damage just like this you can head over to learn learnpdronline.com. Start watching our free 5-part video series. It's going to give you a real insight into Paintless Dent Removal in the industry, the tooling and just how to get started.
Get a real insight into my journey through PDR! It's all about the training that we offer at learnpdronline.com. Learn about PDR tools and techniques! Learn to remove damage through Paintless Dent Removals!
