The repair video above shows a six-inch crease on the front door of this BMW M4. I'm going to go through a couple of different methods involving glue pulling bars from behind and plenty of tap down work.
Release The Tension
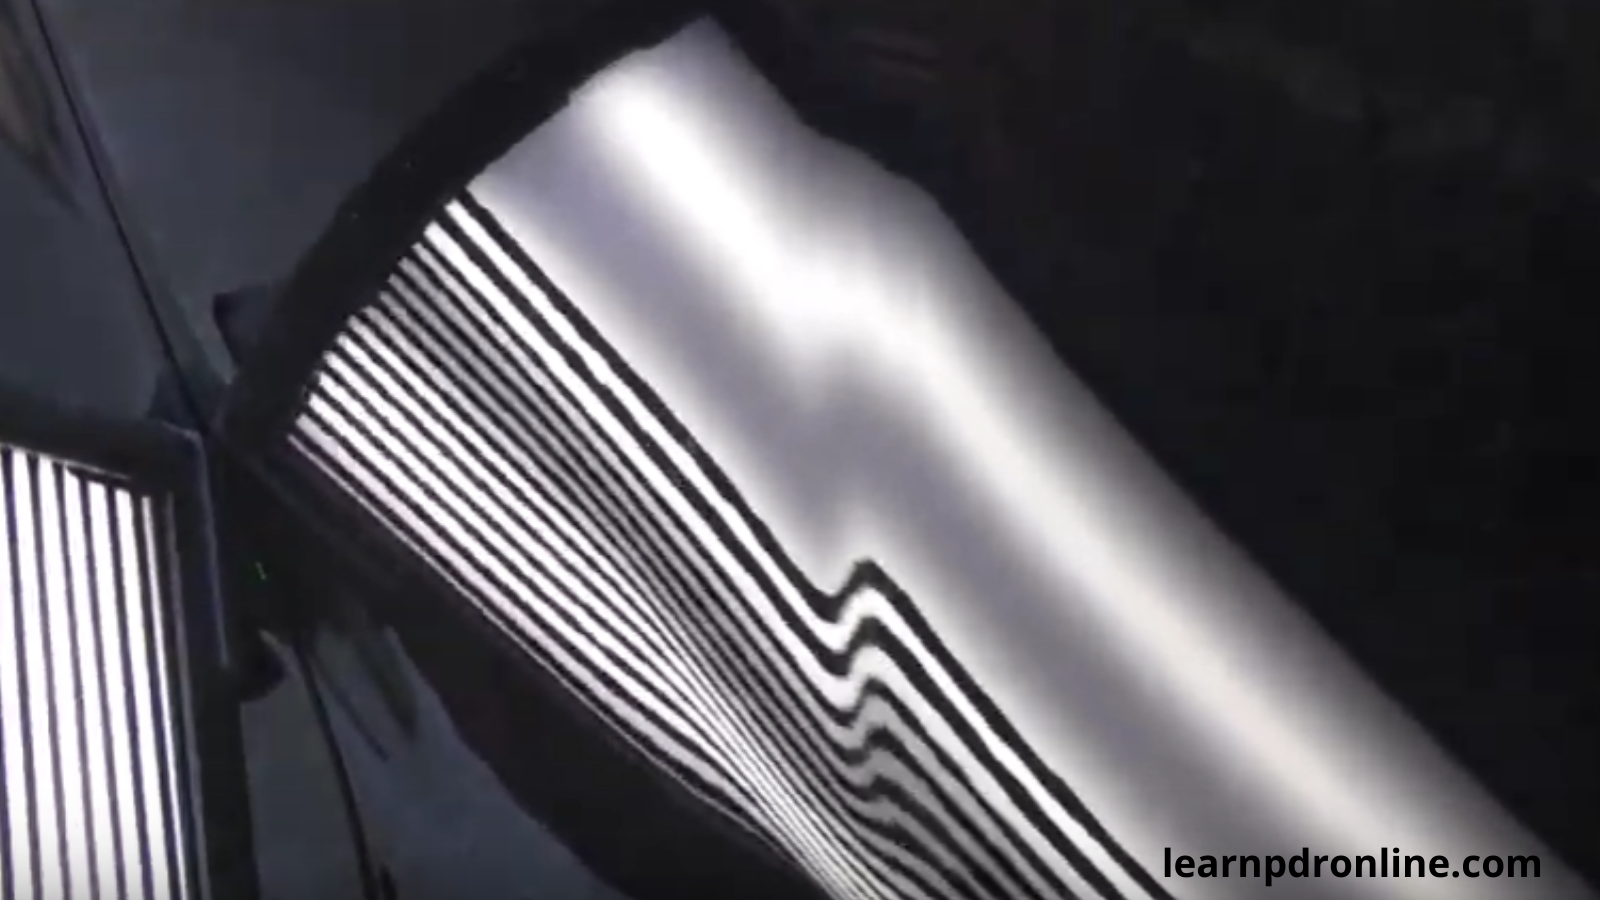
I'm using a ElimADent ver3 light and I've gone for a hybrid lens which is half lines, half fog. As you can see we've got quite a crown there. We've got the main vertical dent that runs down from the impact. So the first thing I'm going to do is start releasing the tension and tapping down that crown. I've moved my line border up to show those lines pinched together. And with a root beer tap down, plenty of patience just to release the tension, tap that crown down.
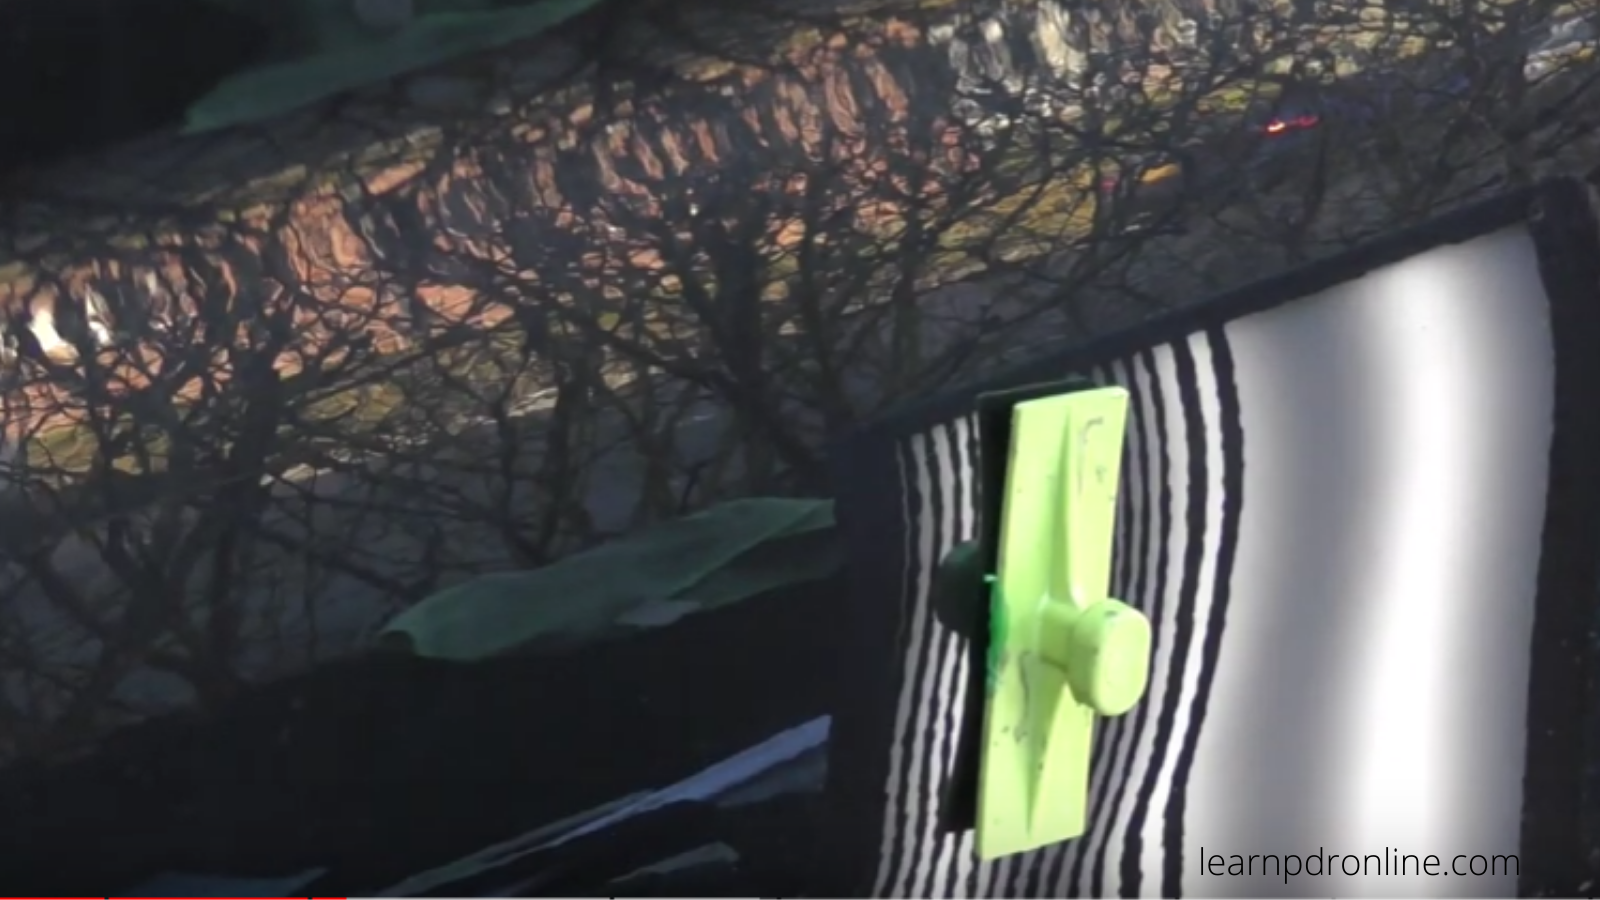
Now I'm choosing to use the gang green tabs from Black Plague PDR with a robo-lifter combination. Now what I'm trying to do here is reduce the overall dents size pretty quick so I could get access from behind with the bars and the rods. But due to the kind of size of the dent and that shape I really want to try and take out some of the depth for it as quickly as possible.
Killer Combination
So I'm using the gangrene tabs, these are the crease tabs, the smooth series. And with that Robo lifter it's a killer combination, I can really create a lot of force and pull out that metal. Now there's a couple of times where I pull it a little bit high. That's part of the process, for me I like to bring the damage out. Make sure I fully lift the lows and then I can tidy it up with a bit of knock down work to really kind of level out the lines.
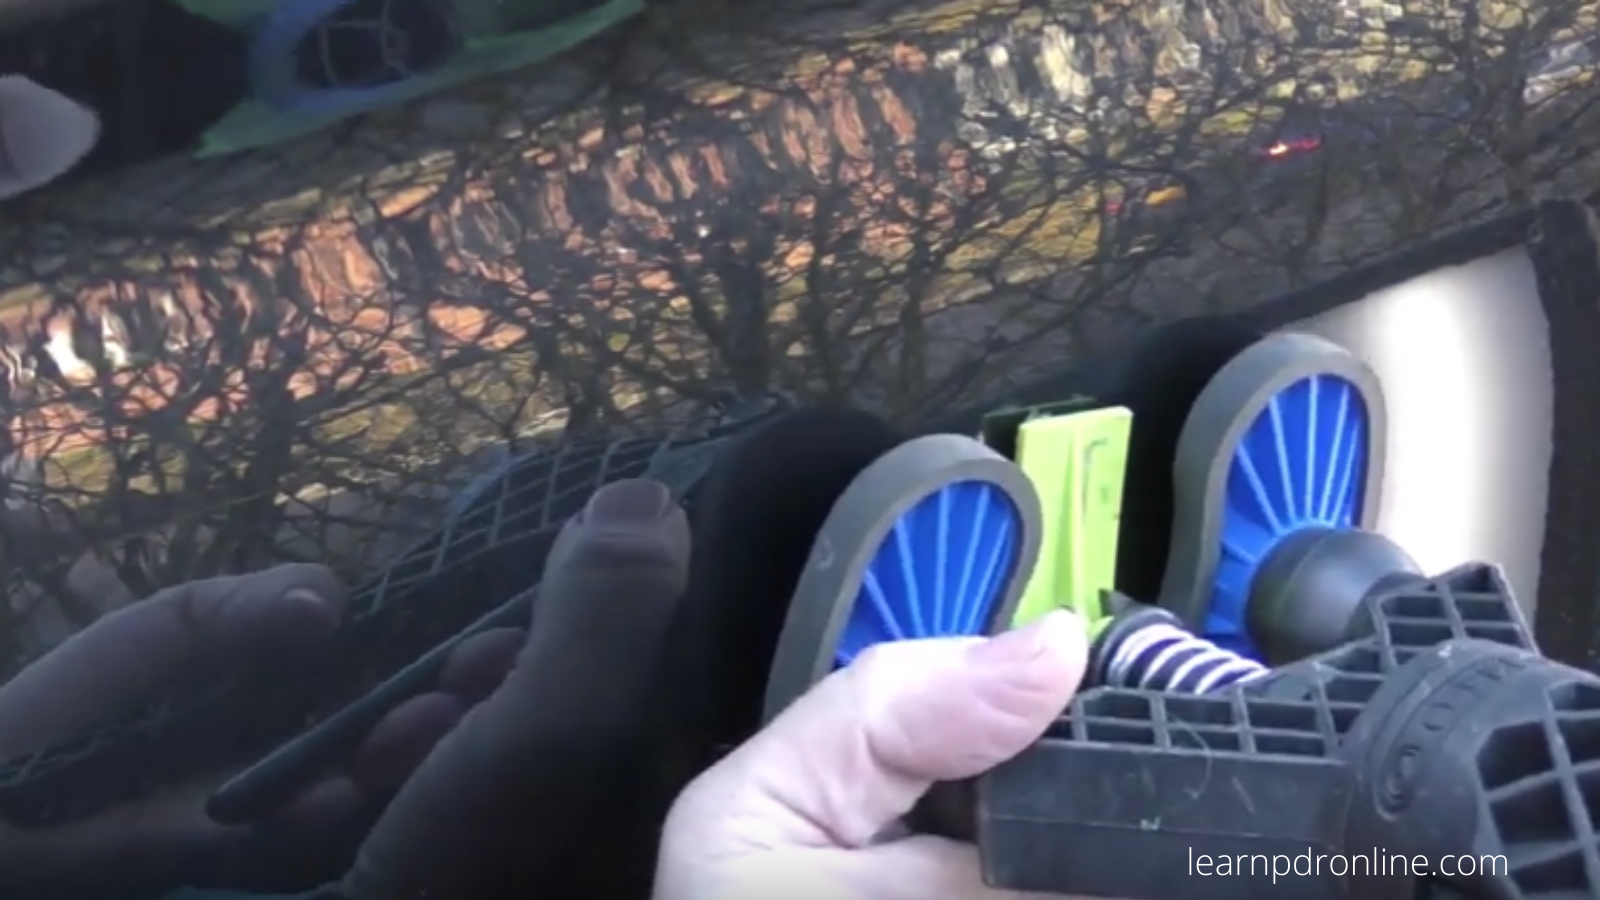
So my first two pulls pulled out quite a lot of that dent. You really see those lines pinched together but this third pull I pulled it just a little bit too far. Thankfully not too far that I couldn't save it but I just have to spend a little bit more time on the tap down process than I originally planned.
Shadows & Lines
So it really goes to show the power you can create with that combination between those tabs and that lifter. Having a hybrid lens I can flick here between the fog and show the shadows and then quickly switch over to the lines and show the distortion in the lines. Hopefully for you fog users it gives you an indication of the damage. Now I'm going to be using lines to fix the repair. It's just my preference. Hopefully you can pick up some of the damage both in the reflected lines and also in the fog side of the board.
I've reduced the kind of depth and of the dent itself it's more about some fine tuning now. There's less work to do with the bars from behind. Thankfully I can get to nearly all of this dent from the inside. So I'm going to start off by setting up my Whale Tail. Now this is the Dentcraft Whale Tail fairly common standard and just got a really nice kind of flat tip on the end.
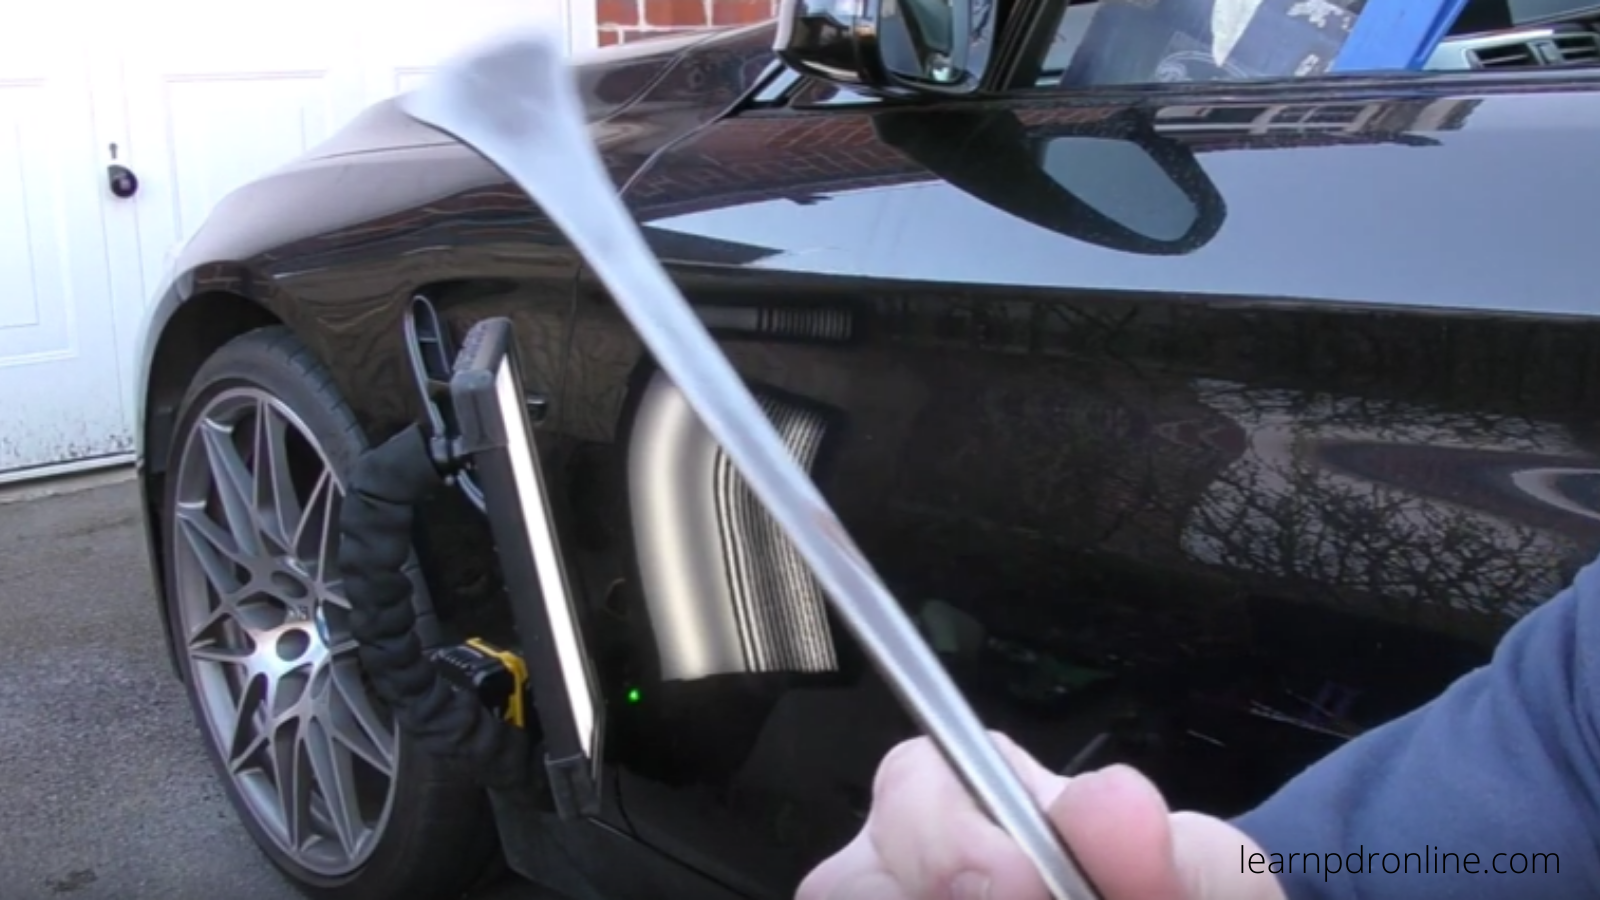
I'm going to set this up with my window protector board and my wedge. Basically sliding that tool all the way down and that bottom tip of the whale tail itself is going to sit into the side impact bar. That side impact bar is going to give me just the right leverage I need to be able to start picking out some of the lows.
Zoom In
As we zoom in we can take a quick look and just see the end of that tool working on the panel. You can see by those lines pinching together where the tip is on the inside. I'm going to speed up this process, but for the full broken down tutorial you can visit us online at learnpdronline.com.
Now I'm switching to this hockey stick bar from BLE tools. So i really like these door bars, it's a really strong steel and I can really get in that leverage I need. This time I'm working just above the impact bar so the whale tail was ideal for creating me some leverage against the side impact bar. Between the door skin, and with this hockey stick bar I'm now working above the side impact bar.
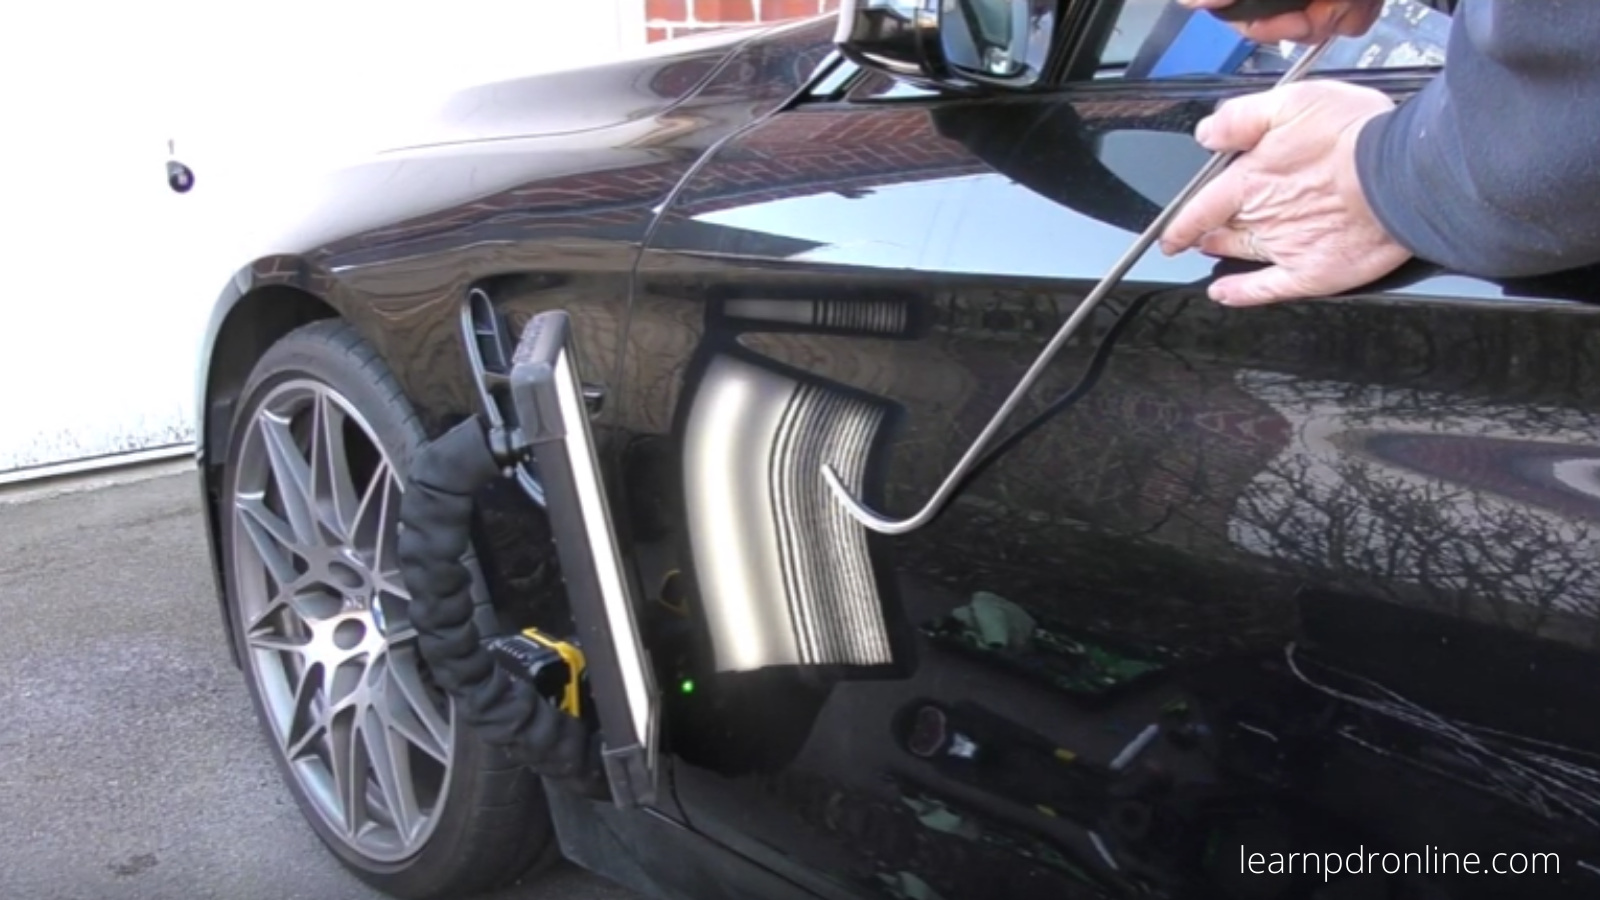
I'm starting at the top of the dent and just working my way down and once again you can see those lines pinched together. I'll speed up this process and show the movement across the panel. What I'm trying to do is bringing those lines, closer together.
Upon assessment we can see this high spot here. This is where the lines pinch together and this is a high spot created by my tool from the inside. It's part of the process for me bringing out the repair. So with a different tap down I'm able to tap the high spot back down again until those lines reach through.
Finishing Stages
You can just pick up here that there is a slight low. This is the section that I'm now going to be working on again using the same hockey stick bar. I can get behind and just start easing out that damage. As we reach those finishing stages I'm just tapping down the highs picking out some of those lows. Really making sure these lines read through and we follow that natural curve and that contour of the door skin.
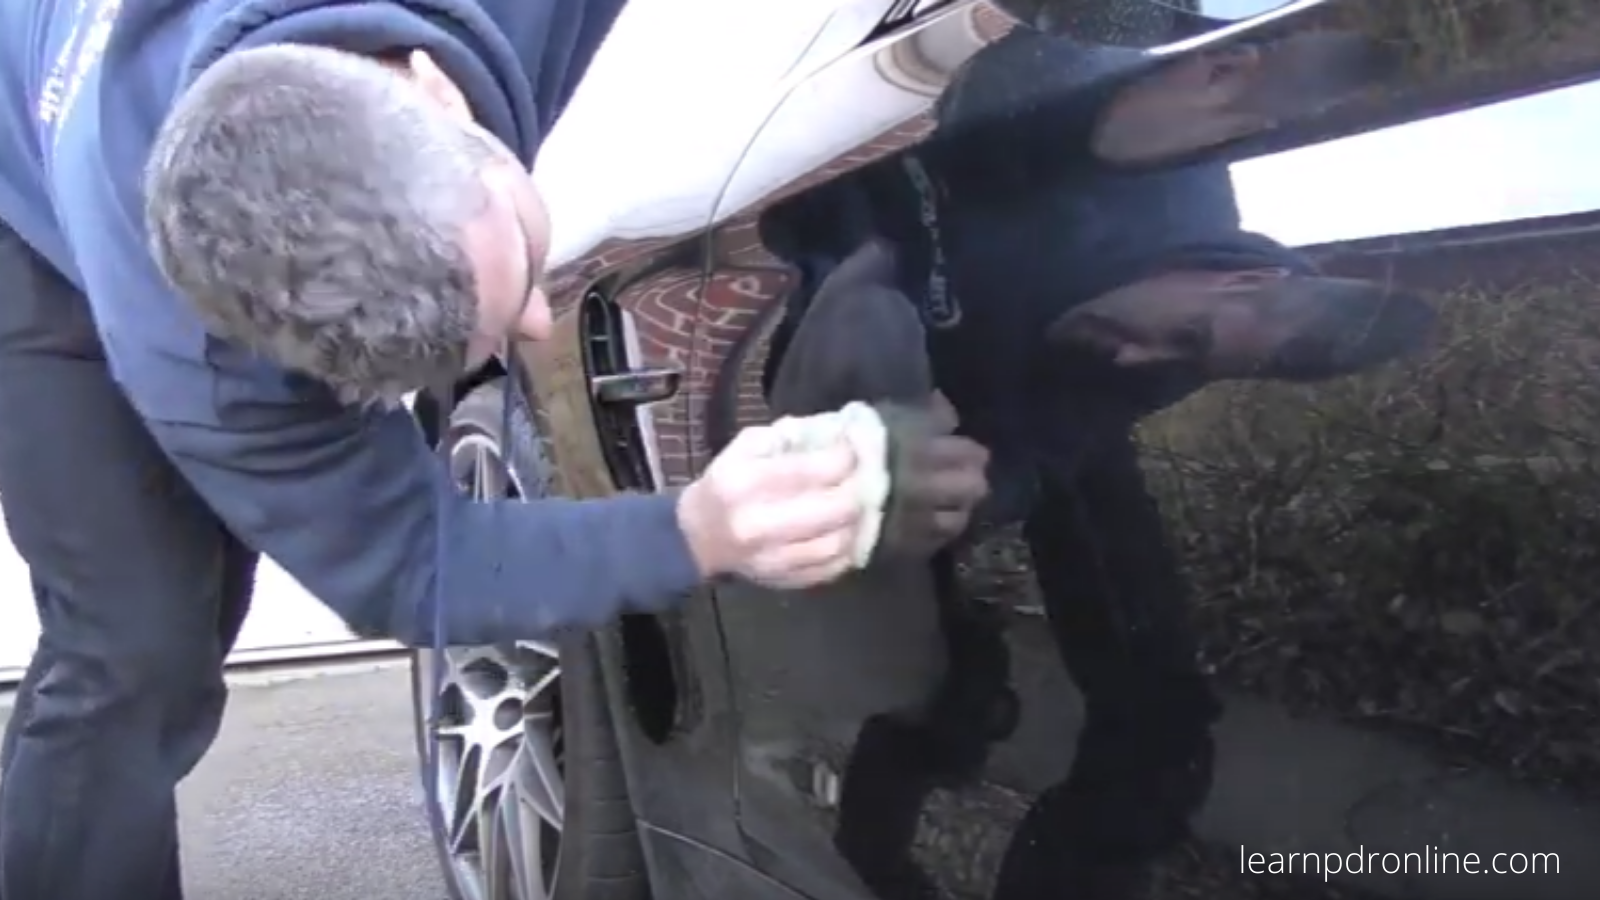
Now I've left some tool marks from my tap down so we're going to finish this with a compound hand polish. This repair itself probably took about an hour, an hour and a half from start to finish.
So if you're interested in watching the full broken down detail tutorial. Run through the tools and techniques to remove this door crease. Just visit us online at learnpdronline.com and learn to remove dents with Paintless Dent Removal! Get started!
