Removing a Door Dent in a Tricky Location
In the above video, I’m removing a dent from the passenger door of a mini Cooper now. It's a standard door dent in a tricky location. It’s down the lower section as the dent sits behind an inner brace. It's not got great access so I highly recommend getting an inspection wedge. This was designed by Hudson Tansey, £30 from TDN tools. It's so handy to have a good look inside the door. The wedge opens up the gap and then you've got a built-in torch. It allows you to have a good sight of the inside of the panel. It will let you know any kind of mechanism, wiring looms, internal bracing, and side-impact bars.
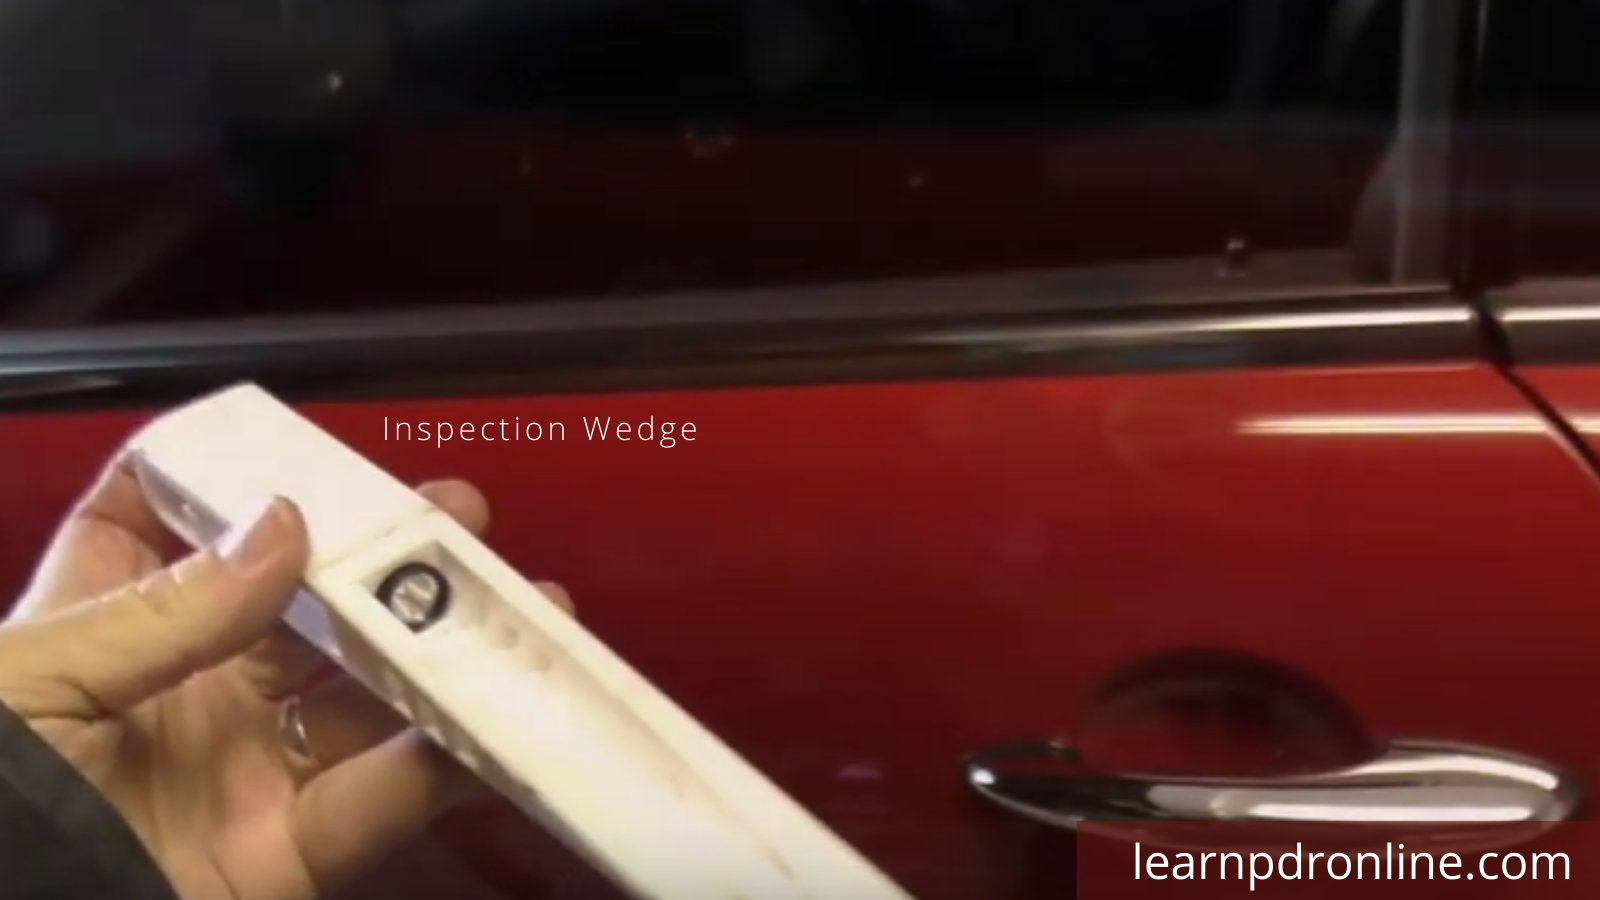
When Access is Restricted
So just for reference, I'm going to mark up what I can see on the inside. We have a brace at the top, the bottom, and a small section in the middle that's open. Across the top section of the door panel, we have an internal bracing that restricts the access. This midsection is open but the dent itself is down the bottom and located behind an internal brace.
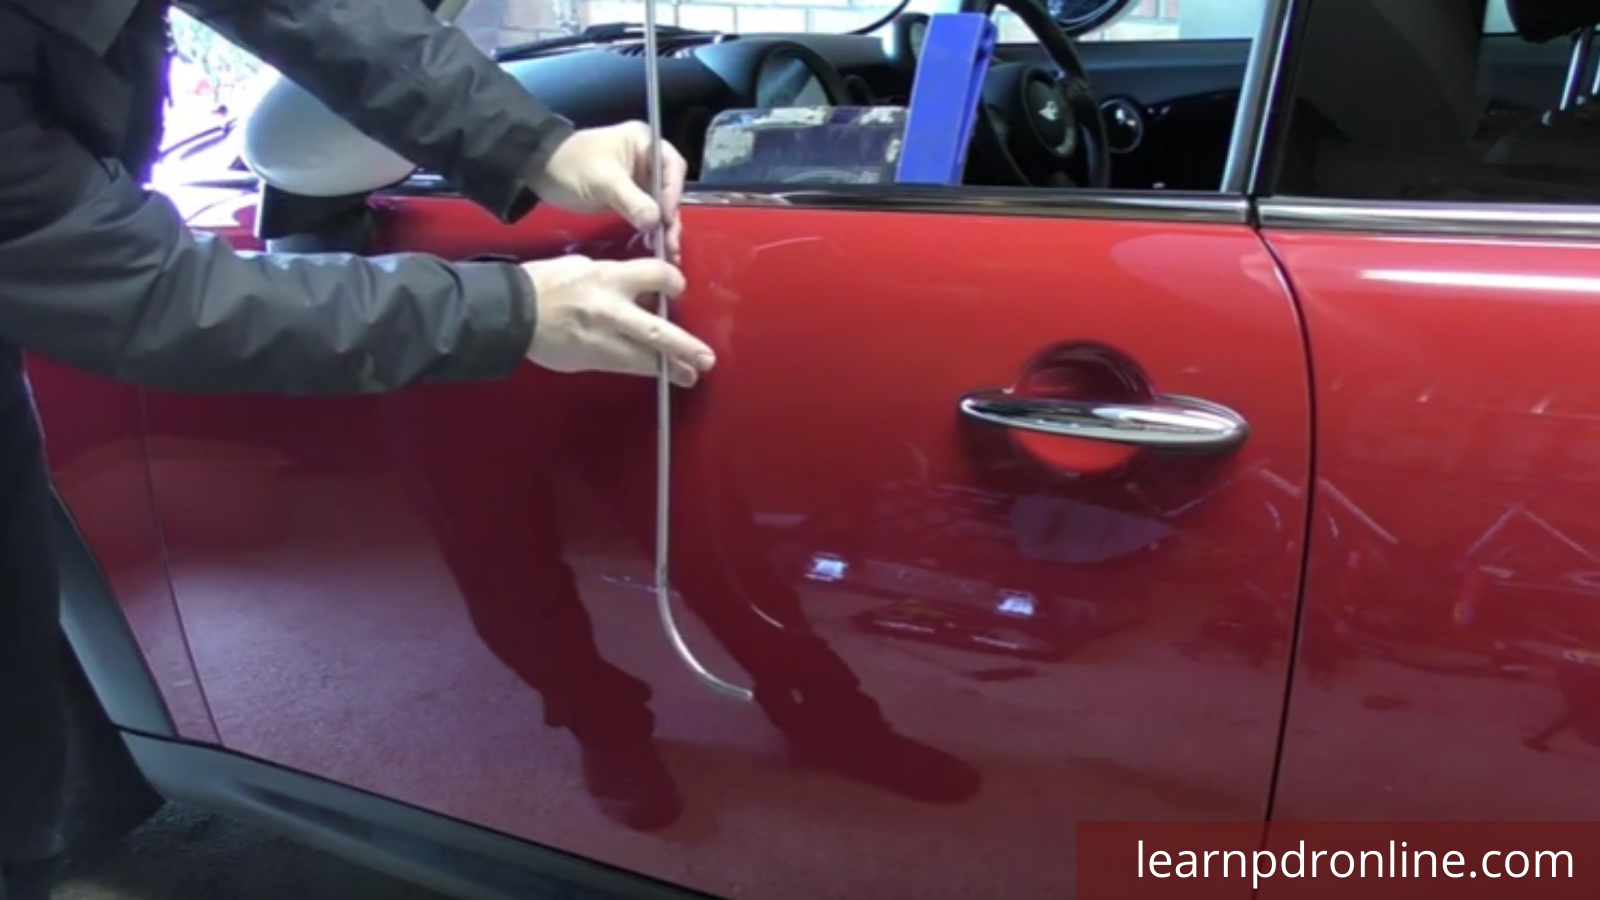
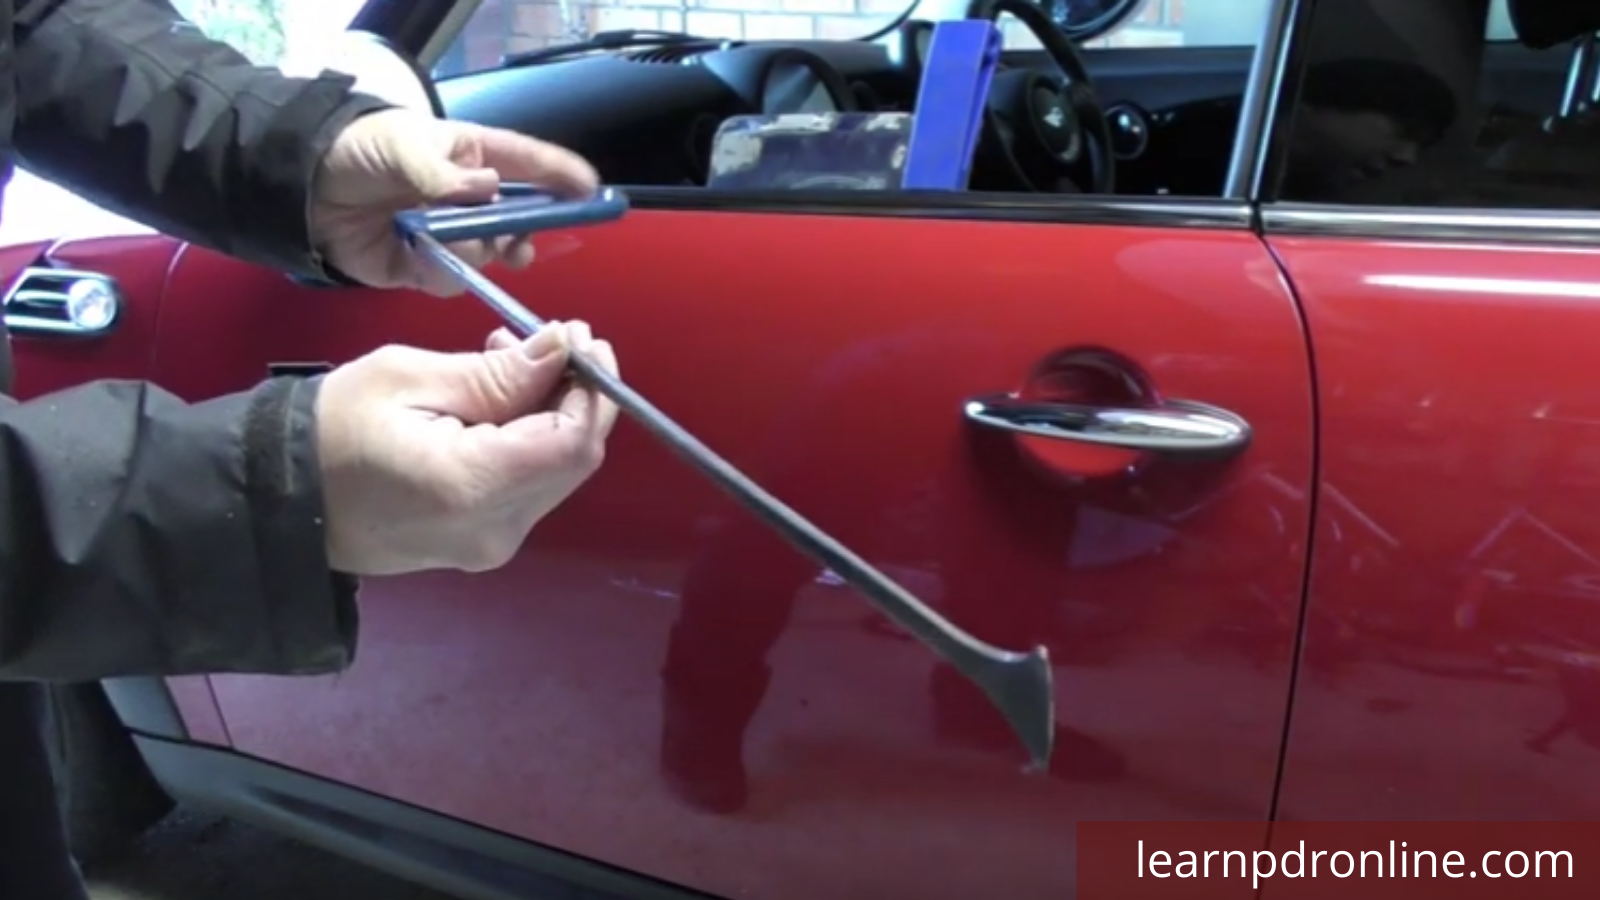
So I would use one of my door bars like this hockey stick bar from BLE. Because the bar is rigid it doesn't curve with the contour of the door so I can't get in there. To get in between the brace I switched to my whale tail. This has enough flex to curve with the door panel. It's got that nice flat blade that's going to get me right down inside that brace. I can get some leverage between the internal brace and the outer door skin.
Using a Whale Tail Tool
Now with my line ball set up below the dent, I've positioned myself above looking down at my repair. I've got my tooltip here and I'm applying some pressure. Pushing it down so I can get it behind the center of that dent. Now these whale tails are ideal because they've got a sharp tip at the side. You can get some good pinpoint accuracy. And whilst this dent wasn't particularly big it was deep for the small dent that it was.
So what I'm trying to focus on here is at a center point with a little bit of accuracy. I’m tightening up the metal here gathering it together. And as we take a look from this angle you can see I'm over pushing the metal to create a high spot. So where you see those lines pinched together that is where I'm bringing the metal outwards. And then I can use my tap down to get it back into the right shape.
Check & Cross-Check
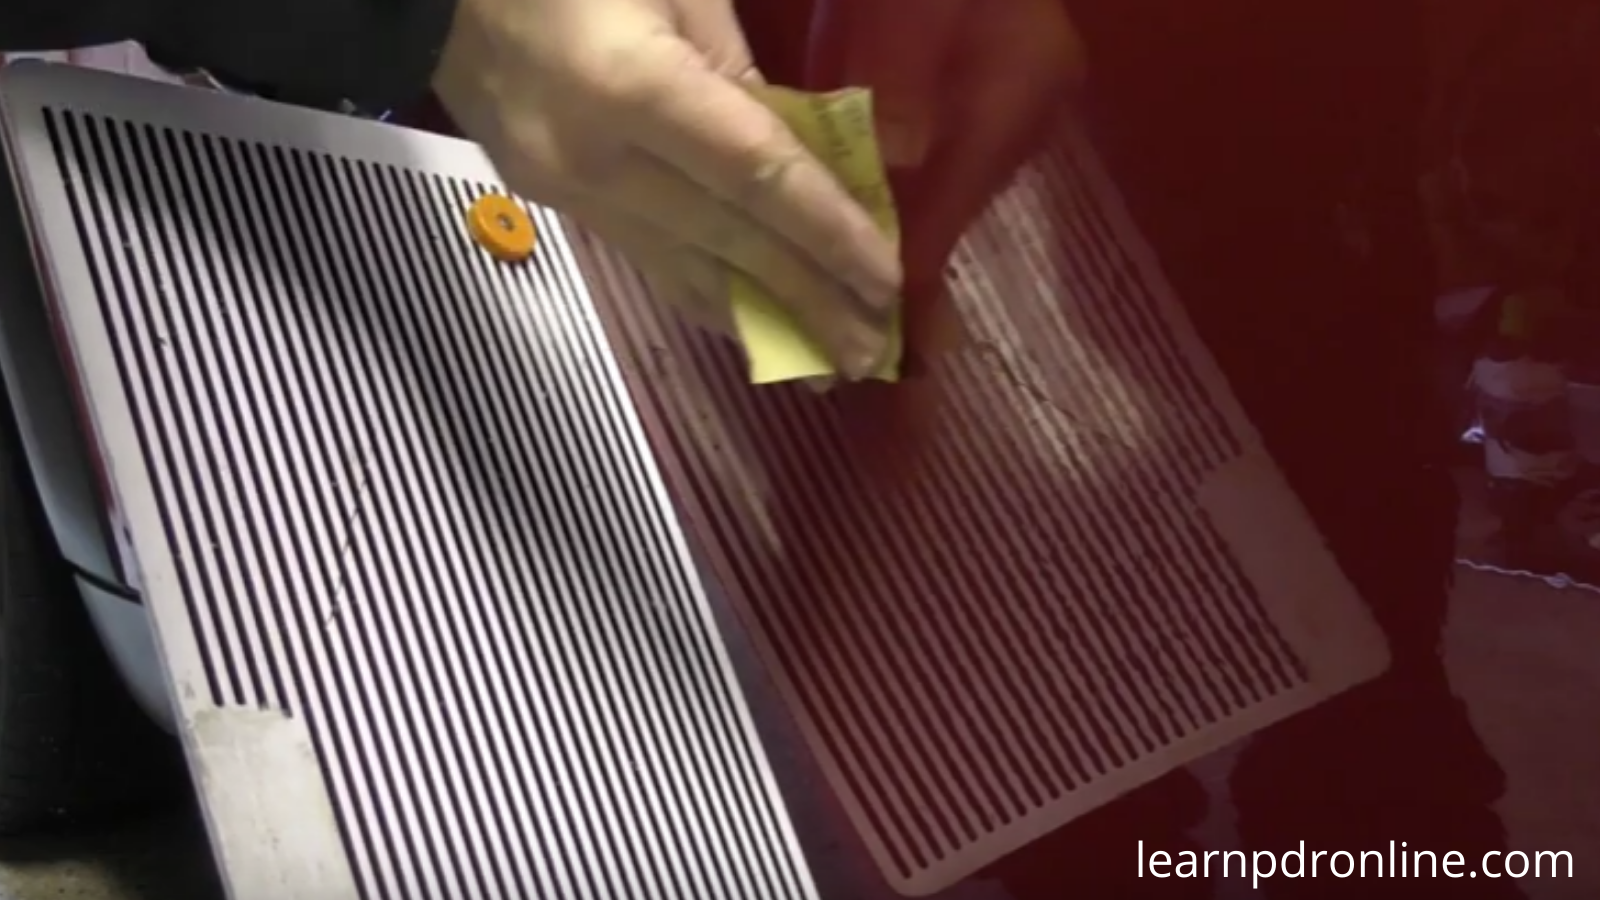
I continue to knock down the high spots that we have around the repair area. Using a small metal knockdown like this does help. Allow accuracy in being able to focus on the areas that are high. I moved my board around constantly. Simulating how you would move your head as a technician back and forth to read the reflections of the board. This tight line board really helps to pick up the detail.
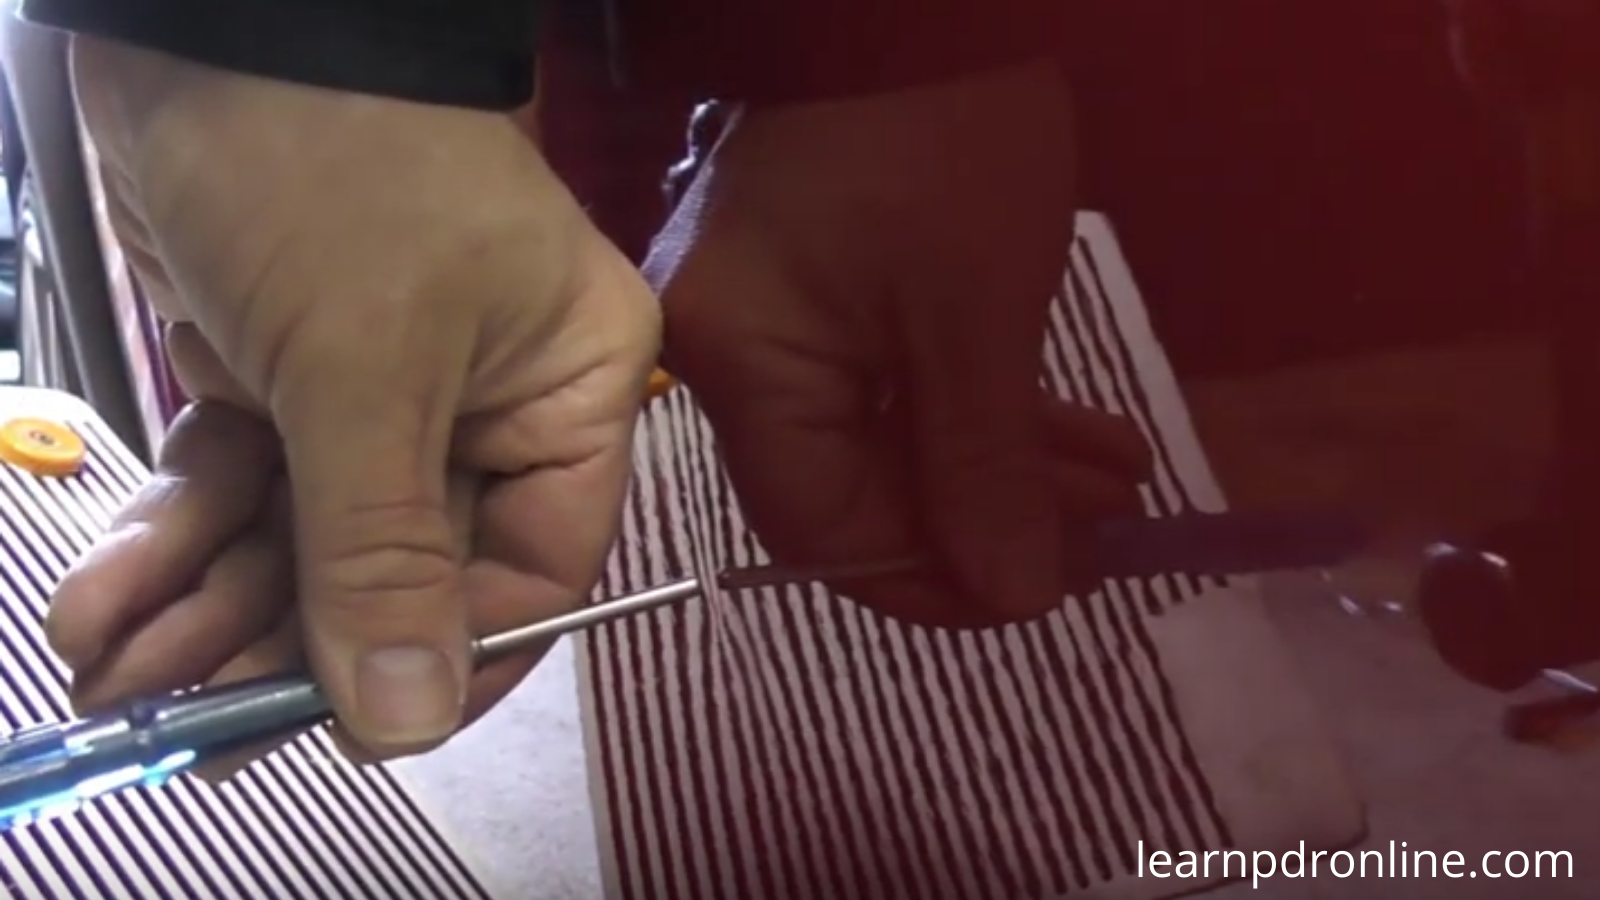
This particular door has been painted before so there's a lot of orange peel and texture to the paintwork. You do need to take extra care when working on these panels. You can never match the quality of the original manufacturer's paintwork. So it's more subject to deteriorating over time or chipping away. As we reposition ourselves it's important to cross-check our work.
Final Touch
So the repair is pretty much out that's roughly where the dent is and you can see perhaps a tiny bit of texture there. Some of these are the tool marks from using the tap down on the outside. A bit of texture from the tool marks on the inside when I'm pushing. Because this paintwork has a fair bit of texture to it, I'm going to finish this with a light flattened polish.
To be able to carry out repairs like this you need to know what tools to use and how to use them. So if you're new to PDR looking to get into the industry perhaps you can start your own career. Visit learnpdronline.com and get started!
