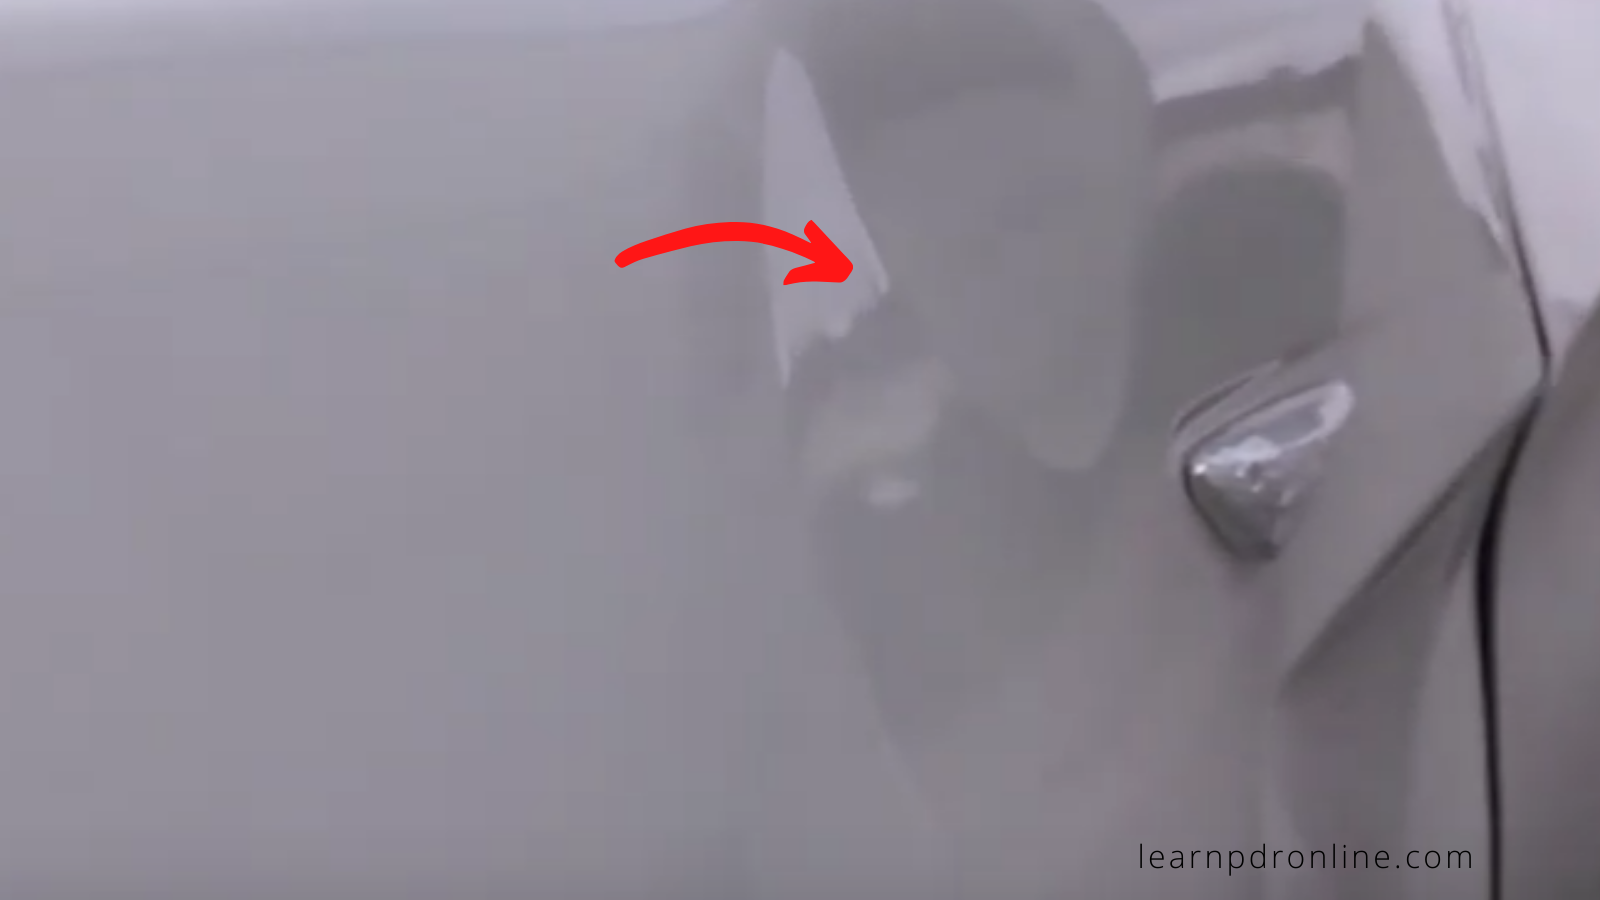
We're taking a look at large dent damage on the passenger side front wing of this BMW xDrive. It's a big old dent that's taken in this kind of framework. You can see it tucked in away from where it sits from the door edge right down at the bottom. We've got this nice big crown, a huge great big dent running up the wing. That main kink across the body line just around that side indicator. Again we've got another body line with most of the damage contained below the body line.
A Straightforward Repair
There's a small ding at the top which may or may not have been caused at the same time. This damage was apparently caused by a fight that was happening next to the vehicle and somebody was thrown headfirst into the panel. It's called a big large dent, the upside of it being a human that hit this, they're not generally got sharp edges on. Thankfully the paintwork is still intact, and whilst it's big it should be a fairly straightforward repair.
Warm Up The Panel
I'm going to take you through a step by step approach to repairing this damage. I'm going to start this repair by warming up the panel. I'm using an infrared heat lamp because I have one due to carrying out some paint repairs. You do not need to rush out and get an infrared lamp. You can still do this with a hot air or hair dryer.
Glue Pulling
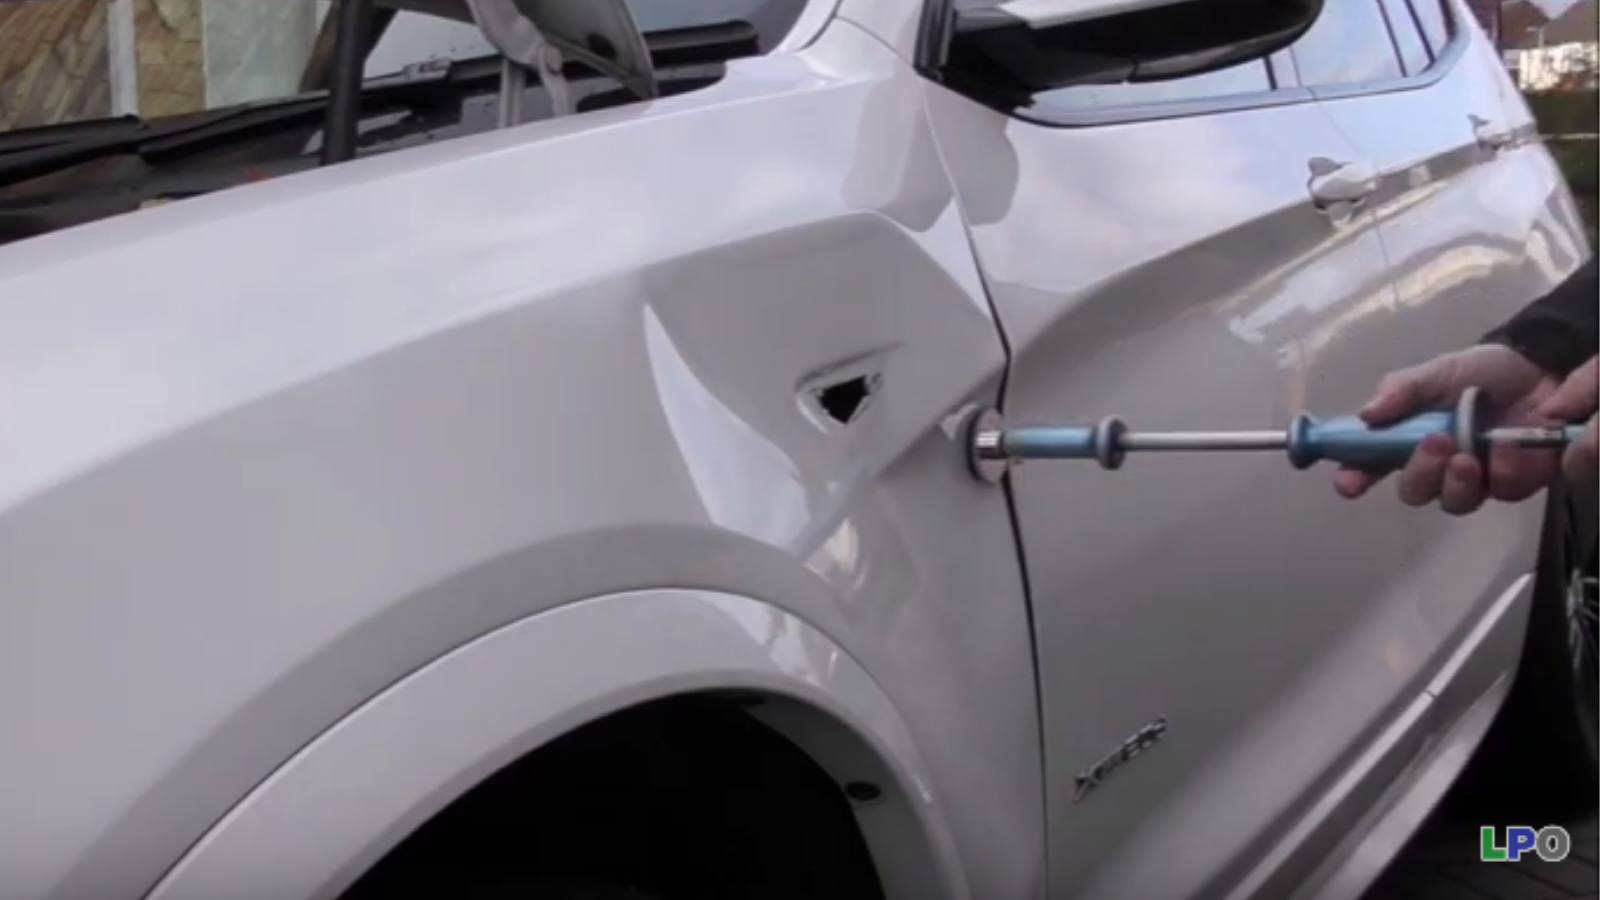
I'm going to start with the Glexo cold glue now. The first thing I want to do is see if I can pull out some of the soft damage.You can see me here just working the glue and that is just to make sure it's nice and fresh. Warm up a little bit and that will really help with getting it to adhere to the panel. You can see where that frame is tucked in from the door. So what I'm trying to do is just kind of see if I can get the frame to line back up again.
Tapping Down
I'm going to start here and see what movement it gets. Start by doing some tapping down, releasing some tension. But I think from here I'm going to bring out the bulk of it. Just start to release some of the tension. If you watch closely as I start to do some of the pull you can see the entire panel move. Watch some of that dent pop out to the left hand side or the front. You saw it just pop out and that massively reduced some of the tension.
There's still definitely lots of crowns and tension surrounding the dents but already it's starting to bring out back the frame line of that wing. My main focus is trying to get that to line up flush with the door panel front edge. So now that I've released that initial kind of main tension point I can reassess the panel and decide my next move.
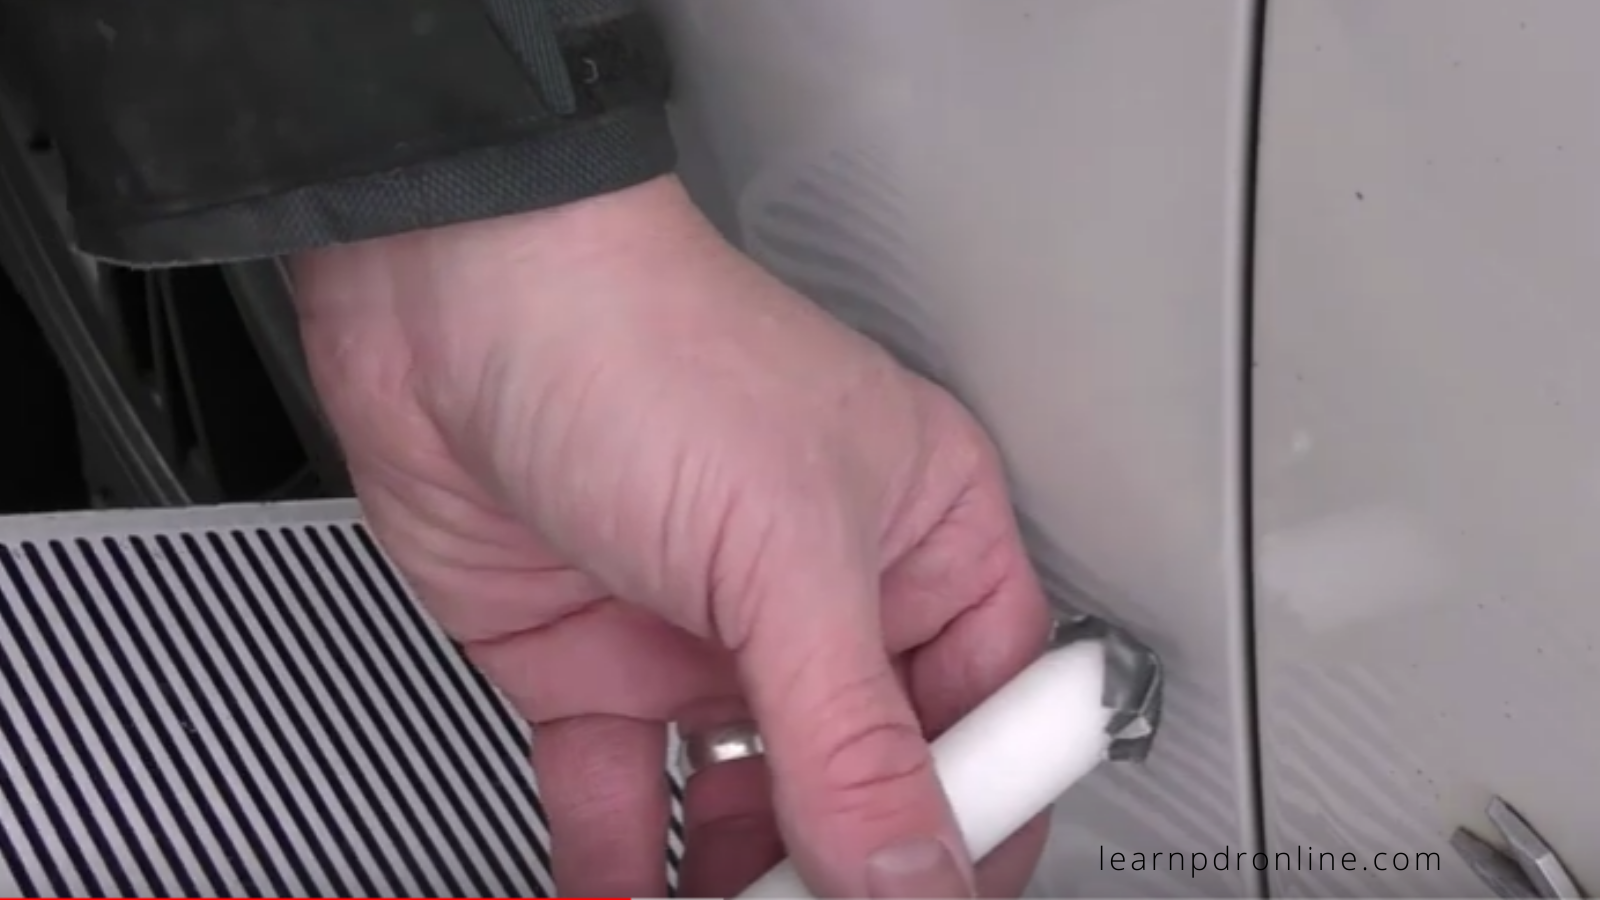
Now looking across this wing there's quite a big juicy crown across the bottom section. In fact there's about two or three crowns together. I'm going to start by using this crow carb tap down. These are great because they have that little leather tip on the end. But I want it to be just a little bit softer. So I'm just going to apply a couple of strips of tape and that allows me to get a bit more of a damper on the tip. I'm still going to hit it fairly hard to move the metal. But I'm reducing that risk a little bit further by putting tape on the ends. Reduce that risk of putting small dents in the middle of my tension points or my crowns.
Work Around
As we take an overview of the panel, work around and we can now focus on the upper section of the wing. There's quite a lot of tension here I thought most of the damage was contained below the body line where in fact most of it has definitely taken some of the impact. You can see those lines pinching together, there's a kind of low to the left but to the right of that low you've got the main crown. It comes up to the body line and goes just over the body line. So we've got tension that sits above the body line so all of this area is going to be worked out.
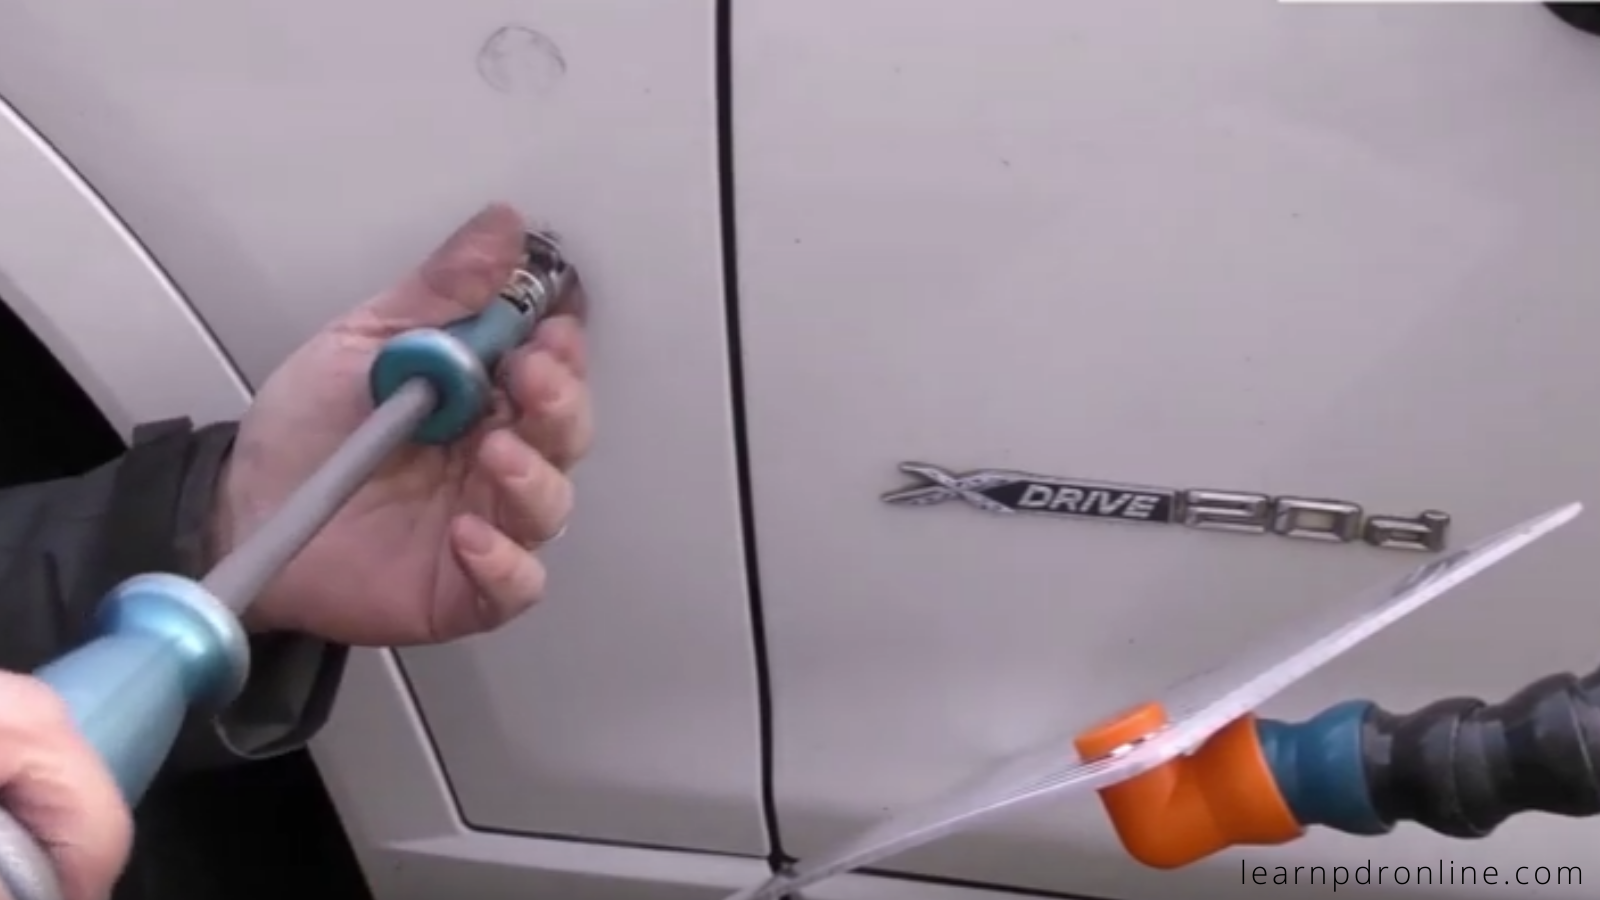
The kind of primary crown at the lower section of the wing, I'm using that same tap down method and slowly methodically working across that whole crowned area. I'm going to switch to hot glue. I want to continue to see if I can pull out the frame. At this stage I've still not got a bar behind this section of the panel. I'm really hoping to be able to pull it out with glue. I'm using quite a big tab and I'm using loads of glue. That gives a nice big area to pull on.
By putting a lot of glue it means that I'm definitely getting into the depth of the dent or the low spot. I'm right in there on the lowest part of that crease and my goal here is to pull out the frame of that panel. It still sits slightly in maybe a few mil from the door. I really like to pull out and straighten the frame out. That's one of the key things that someone's going to spot when they check the repair. Once you're finished they look around the panel and it is so obvious if a panel sits out of alignment.
Lift It Up
Now I'm choosing to use my robo lifter, I want to try and control how much of that panel I am lifting up. So before with the slide hammer I was pulling a big area or a big mass with the robo lifter. With these feet you can really condense that down so you focus on a small amount of area to apply that pressure. There you can see it's starting to pull the panel and if you watch that gap between the wing and the door it is slowly starting to pull it back into place. It doesn't lift it fully but it does start to help to get the shape back.
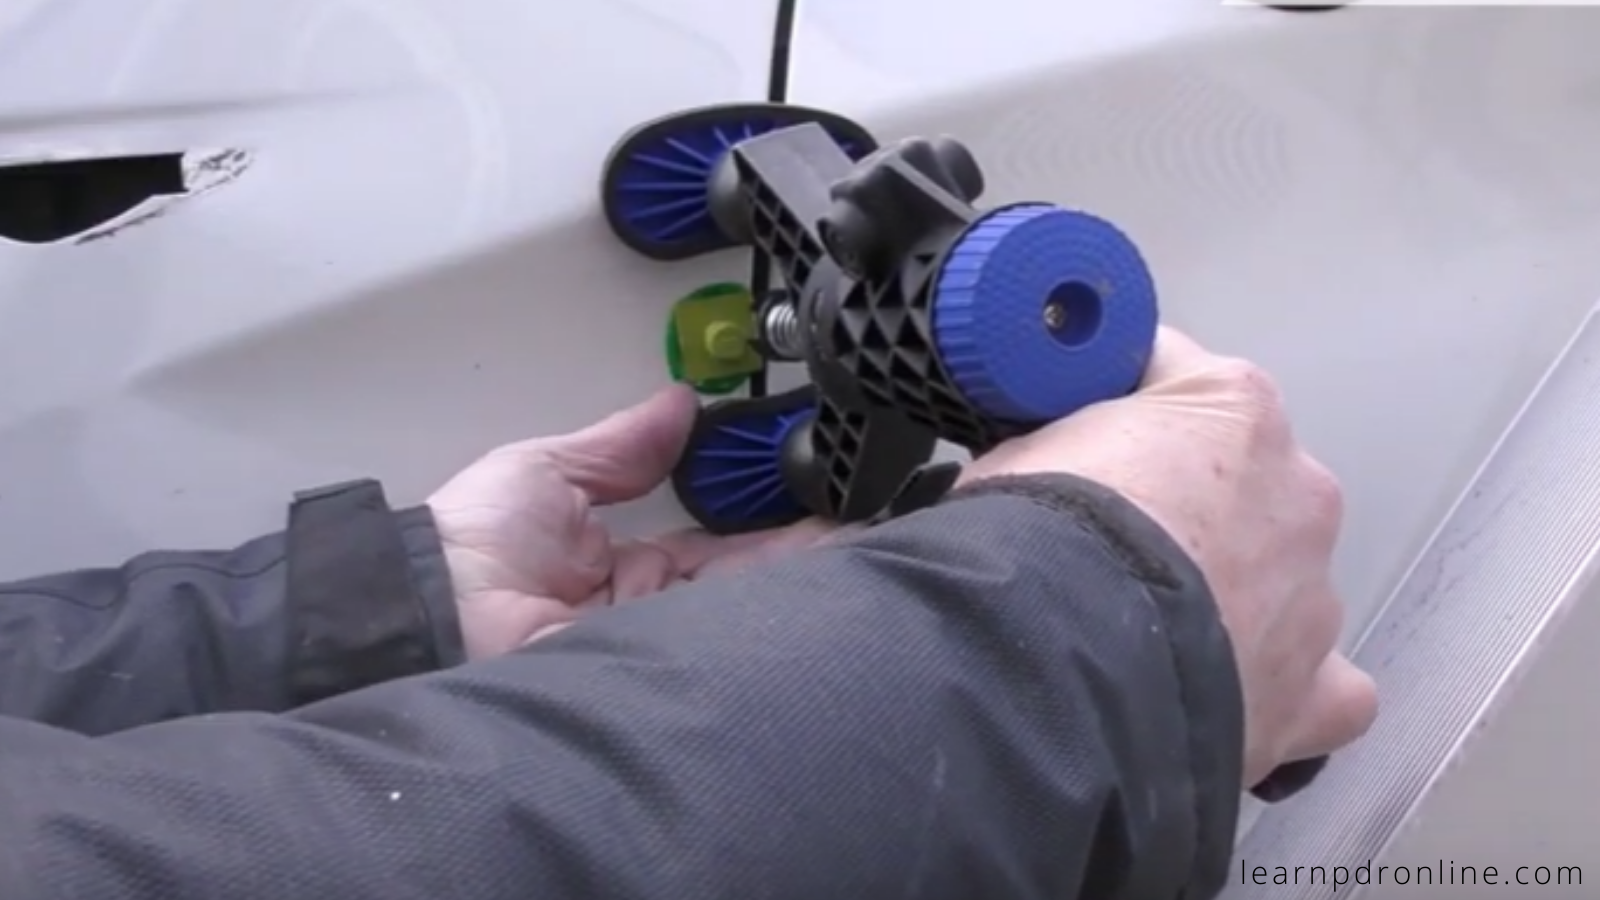
So we're not a million miles away from having this wing frame match up with the door frame. If ever we're working on the dent and the low just isn't budging or it's being stubborn there's a good chance we still need to release a bit of tension. So as the dent has pushed the metal up it can only go as far as that body line,at least to a certain degree. There's a lot of tension that's hidden or almost hidden across the body line section. There's a flat panel, it would have gone right up to the top and stopped at this line. But because we've got this body line running through that impact, it has pushed the metal up and then it stuck here. It's kind of captured it or frozen it in its motion.
Use Your PDR Bar
You've got to be really careful when you're going through these holes because you don't want to lever off the panel. Normally you would go in and lever but we're leaving off my hand so that I'm not damaging the panel. Also instead of using that pushing motion I'm actually pulling it. So I'm pulling the bar back towards myself so threading it in like a hook and then pulling it back.
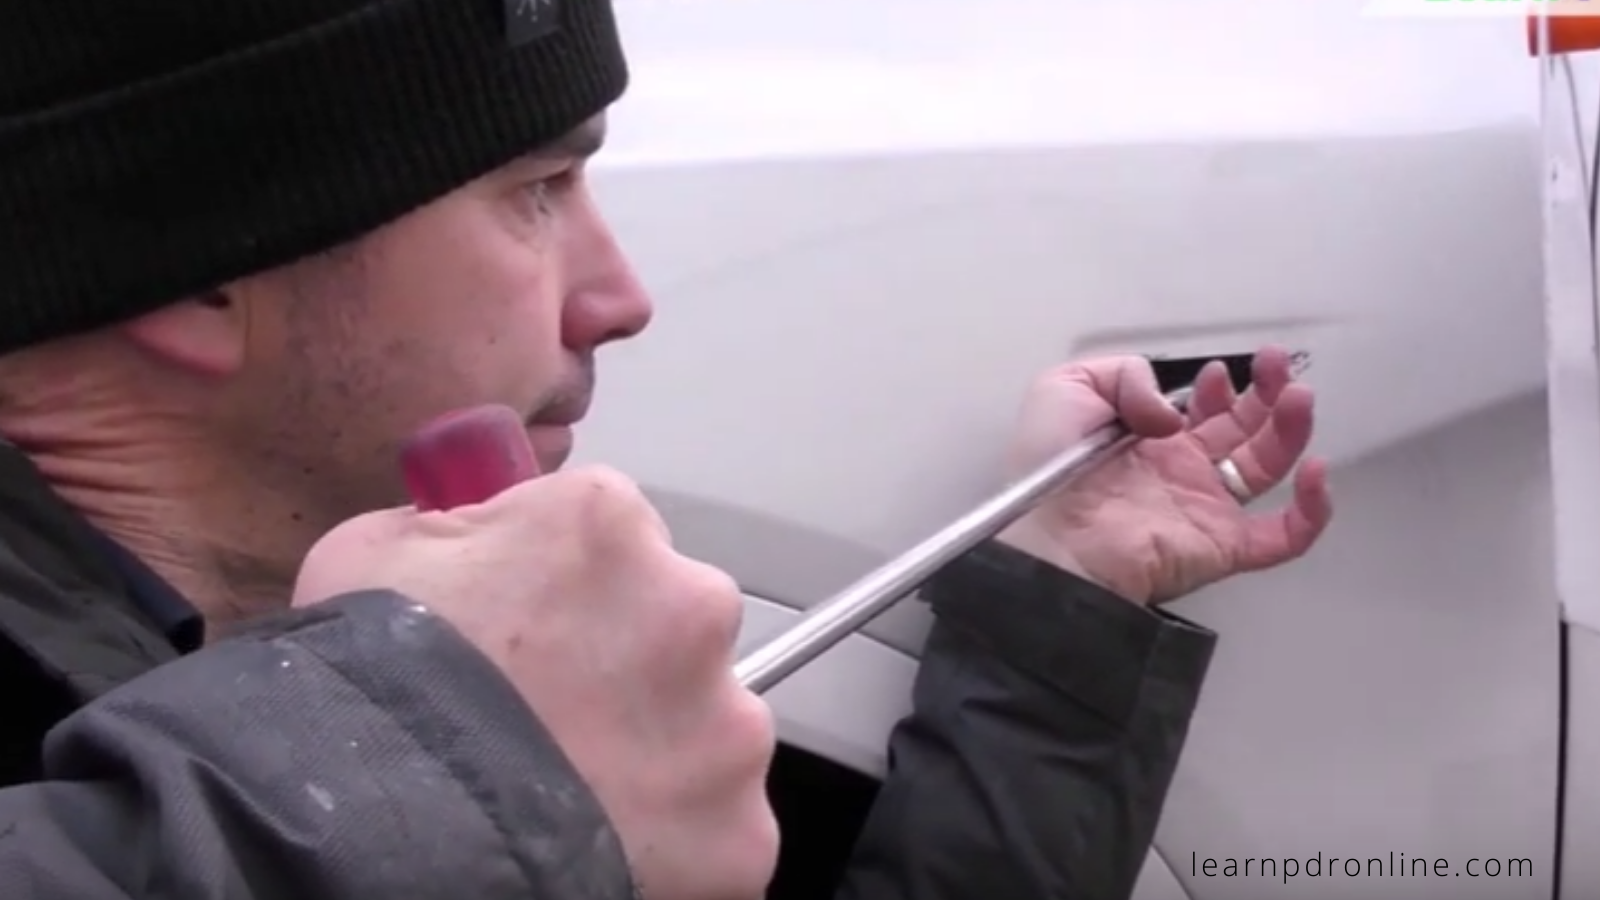
Currently working towards the back edge of the line that surrounds the side indicator. Just pushing and focusing on some of those loads. I'm also going to come in from underneath to get a bar in. I've pulled away just part of the lining on this model. They're like a felt liner that I can just get behind without having to remove all of the kind of plastic rivets that they have on these BMW arches.
Tapping & Pulling
I've switched back to my root beer tap down just to allow me a little bit more precision in tapping down some of the high spots I've created during that repair process. Although the majority of the dent is now being removed and that shape is back into the panel, there is still kind of a sign of that big low that came from the top end, all the way down to the bottom. Going back to the cold glue I'm trying to lift out some of that low to reduce the amount of pushing work I might have to do with my tool from behind.
I'm working relatively quickly with the cold glue and just trying to lift a little bit of a low one bit at a time. Coming towards the end of this repair I've now got my double bend bar, the long extension piece with an R4 tip and that red cherry cap on the end. I just need to get to the very back edge of that frame. There's a limit to what I could pull out on the glue.
Finishing Touch
So this really just gives me the extra edge for that finishing touch. Overall I'm really pleased with how this repair is coming out. I've taken out the bulk of the damage. I've got the shape back and it's just onto those finishing little touches I've got that frame line back so the wing panel meets the door and that is all sitting back where it should be.
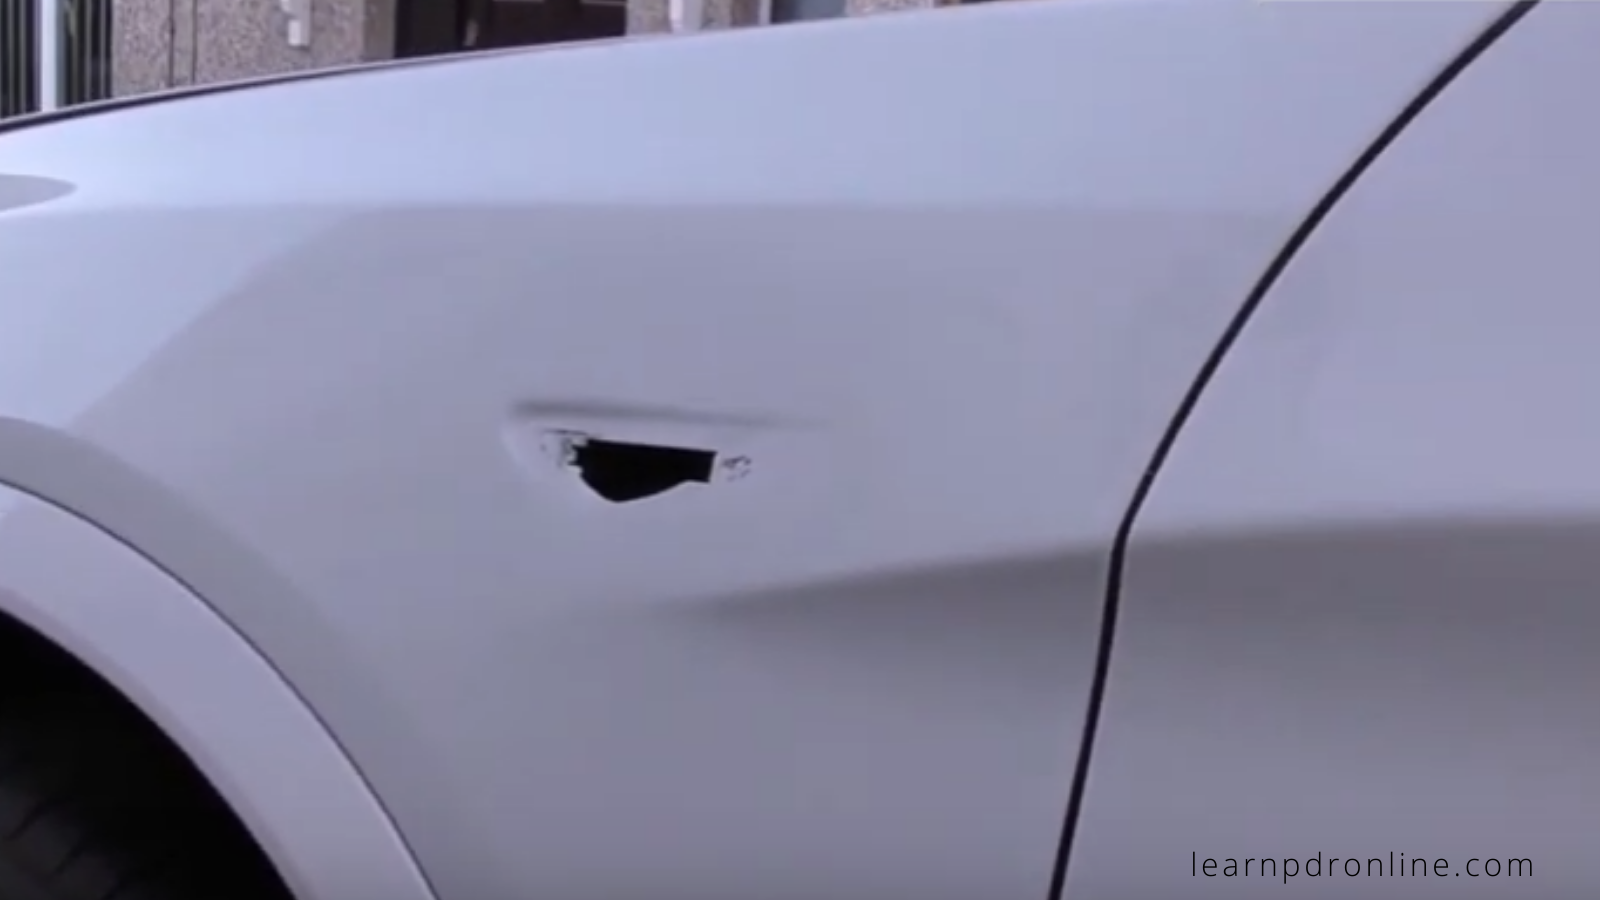
As we take a slightly closer look I've set my line board up across that body line and around the side repeater. Now it's a difficult part of the panel because you've got a few different bodylines. A lot of shape to it but also you've got the way the panel concaves, convexes around. I've set the line board up and you can just see there's a tiny bit of texture. The panel came out really well and I'm really pleased with the overall repair process.
So do you want to learn more about Paintless Dent Removal? Visit us!
