How To Find And Locate The Tip Of Your Tool In PDR Training
Locating PDR Tool Tips With A Breeze
Hi I'm Tom with Learn PDR Online. I created an online survey to help me find out what the biggest struggle was for people learning paintless dent removal. Now the survey came back with two top results. The first being line board interpretation or how to read the line board and the second biggest struggle was locating and finding the tip of your tool whilst working.
So I've created two short videos which hopefully explain the process and the method and we, of course cover these in our first module, on Learn PDR Online.com with our online training.
So let's take a closer look at the two different methods:
Locating and finding the tip of your tool. So again we are looking at the line board but more importantly the reflection of the line board in the bonnet panel. So this is our working area. Using a fairly standard PDR bar, we're going to use the S hook and ring setup that we use and demonstrate in our online courses. I'm gonna apply some pressure from the underside. And then indicate in the reflection Where the tip of the tool will be.
So again we'll be looking to work roughly in this area here. So now that we've zoomed in for a closer look, we can see that when I apply pressure to the underside of the bonnet panel, we can see these lines pinch together. So the tip of the tool is just here, where the lines meet at the tightest point or the closest point. So by dragging the bar forwards and backwards, we can see how it affects the lines and how the reflection distorts from where we are applying pressure. One of the exercises we use in our training is called target practice.
Target Practice Training
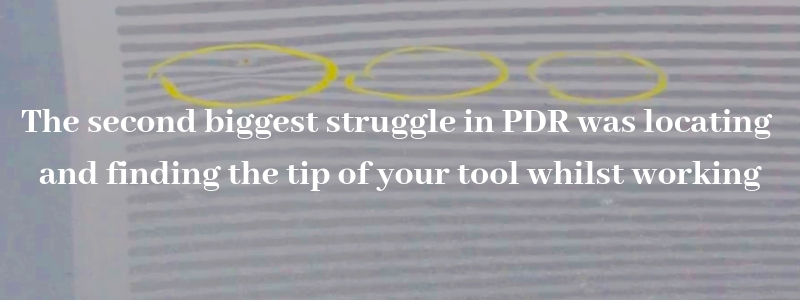
So here we have our three circles and starting on the one on the left just above the circle we are going to hopefully see the distorted lines as I move dent repair tool backwards and forwards so dragging it back towards the center of the circle until I can find that I'm roughly in that center. And remember this is indicated by the lines being pinched together. And the center is the tightest point where the lines are at their closest. So once we're happy that we're in the center, we can apply enough upward pressure to create a small high spot. And now let's move on to the circle in the center. So again we can see the distortion in the lines as I drag the tool forwards and backwards. And we bring it back until we're happy that we're in the center of the circle and we can apply a certain amount of pressure without it staying in the panel just to check we're in the right area and then when we are, apply enough pressure to create that high spot
I'm happy that is in the center of my target area. So let's have one more go. And work on that last circle the one on the far right hand side. This time I've located my dent repair bar just to the right hand side of the circle giving me an idea as to where it is. As I gently move it to the left, I can find that center
Now as we move around, we can now see those high spots indicated where the lines are almost meeting or certainly closer together and hopefully we can see in the video that they're fairly close to the center of each one of the circles.
Learn more about Paintless Dent Removal! Join our Exclusive PDR Community!

