A Slightly Different Process
So this is part two of using these dent craft dollies. We're going to take a look at a slightly different process but still using these techniques to help us with the dent removal on the rear door. I’ll take you through a different demonstration in terms of removing the dent using these Dent Craft dollies to push that frame back.

Here we have the dent on the rear door and you can see the reflection. It's kind of blown the frame out this way. That dent has pushed out the metal this way so the frame is just slightly bowed out here. Now depending on how we remove this dent it might pull that frame in by itself so I'm going to try and glue pull this. There's a chance it might pull a framing because it's not too badly damaged but what i would use is a dent dolly to knock the frame this way.
Release the Tension
What it’s going to do is make sure that I'm releasing some of the tension out of this low spot. So I'm pushing that metal and just by pushing that frame in I'm likely to reduce the size of that dent. Using the line board set up we get a better look at that distortion we can see the low spot where the lines splay out. Here it appears high which is more of an illusion from that panel being in. It makes those lines sort of grouped together.
Now I've set up my board and my wedge to double check what's in there. You can see we've got this kind of couple of inches gap where it's really thin and a bit too thin to get a tool in. So we look at the different shapes of the dollies, for example this red one you can see the curve and it wouldn't be my preferred choice because there's just a little bit of room for slip. I would potentially use either the yellow which gives me a little bit less of a curve or perhaps even the flat blue because it is either flat or curves the other way.
Here Comes the Dolly
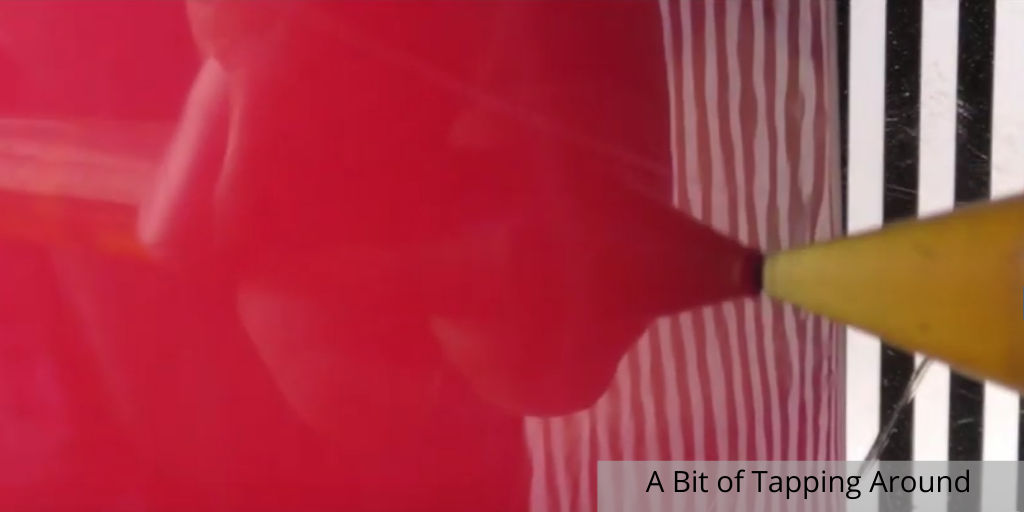
The point where it's going to hit and cause that impact just to push some of the frame and the metal where it should be. We'll give it a gentle couple of taps on the side here just to start pushing this metal up. But before I start I'll give that a little glue pull to see what I can pull out before tapping in that frame.
So with that I've pulled out some of that dent. I've just got a slight low ridge so i think a couple of taps with that dolly, I can just feel it starts to curve out a little bit. So I'm going to tap it in this way and push the metal this way which will bring the low out towards us.
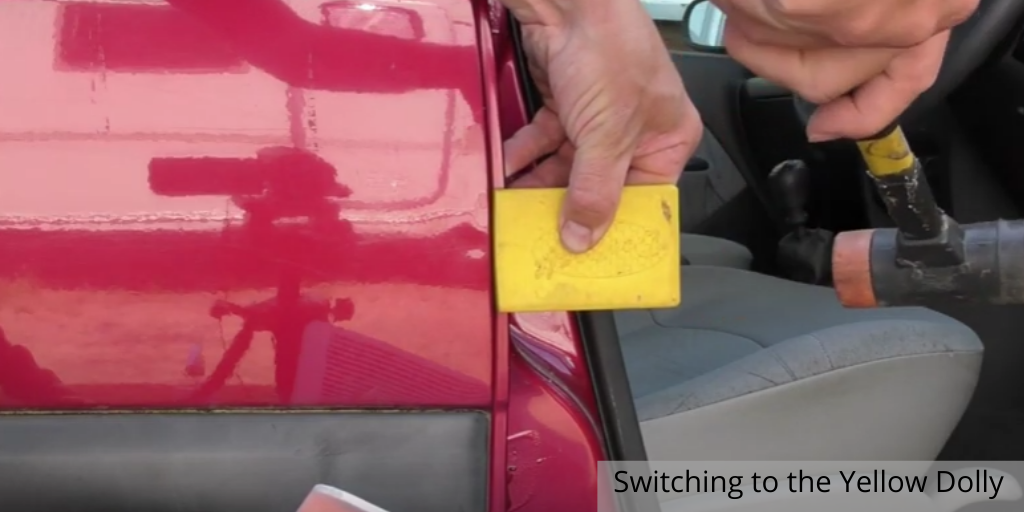
So there will certainly be a bit of tapping around with a hammer and knockdown and also probably a little bit with my blending hammer just to finish it off. Now I'm switching to the yellow one because I can see there's a low so that the yellow one with the slight curve is just going to focus the impact or the force I create with the hammer into a smaller area.
Pull & Tap
Looking across this rear door frame now we've got a big part of the dent out and you can see i've just got this little low spot here. I'm going to probably glue pull, do a bit more tapping with the Dent Craft dollies too. Perhaps I should have started with the dolly on that inside edge rather than starting with the glue pull.
Now that I've got to this point off the repair that would be another option to start with the dent first. To put the frame back into shape rather than the glue pull. But I chose the glue pull to kind of reduce as much as I could first to see how much I needed to work on the door frame. So the majority of that dent is out, a bit of tapping around and we'll just finish off that last little low.
I've glue pulled some of that low spot out and then come back to tapping it with the dolly. Hopefully you can see in the angle of the lines I've now raised this section of the panel by pushing this metal. There's a limit to what the glue pull can do or what I can do with the glue pull. So by tapping it again with the dolly I've pushed the metal into the door which has created a high and now I'm going to tap down that high and gently push back the metal into that low spot back into where it should be.
And Finally….
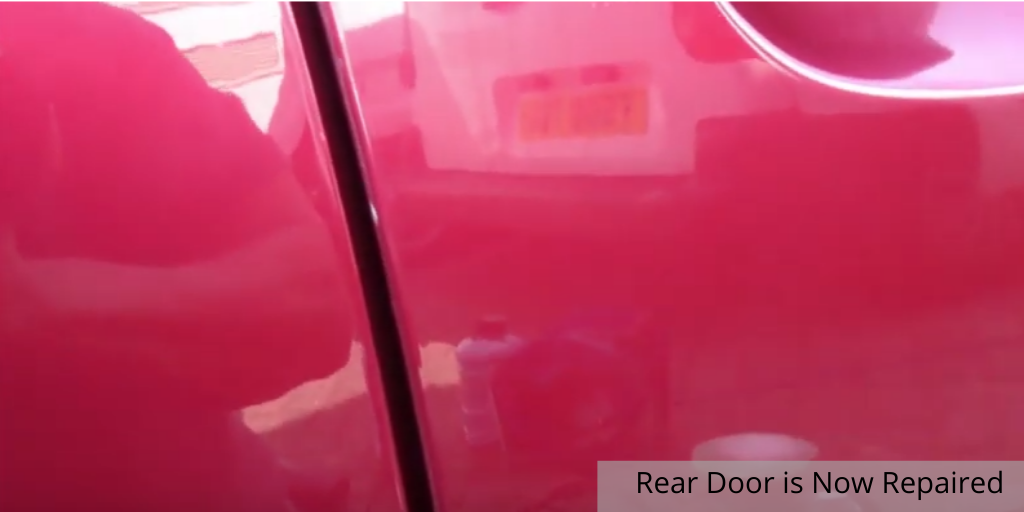
At the end of part two we have now repaired the rear door as well and got that frame or both frames back to where they should be. So there's a little bit of glue pulling a bit of tapping down and a little bit of blending. Some work with these dent dollies but with both repairs I haven't got the usual kind of bars and rods from working from the inside.
Both repairs are done from the outside with glue pulling, tapping and blending. I showed a couple of examples of how you can use these dollies which are great little tools to have and not particularly expensive. They're certainly not everyday tools but nice to have in your toolbox because they are handy and speed up your repair time particularly on roofs, rails and edges of panels.
Join our exclusive community and get to learn more PDR Techniques! Act Now!