Let Us Talk Dent Dollies
In this video today we're talking dent dollies and more specifically how they can be used to help you remove dents. About 16, 17 years ago a panel dolly was a big heavy lump of steel for removing dents. We use panel hammers with these and shape the panels to work like a slight concave convex curve on that side and a bit more of a dome shape on the other side. There are different kinds of shapes and sizes to allow you to manipulate the metal to get the shape back to where it needs to be.
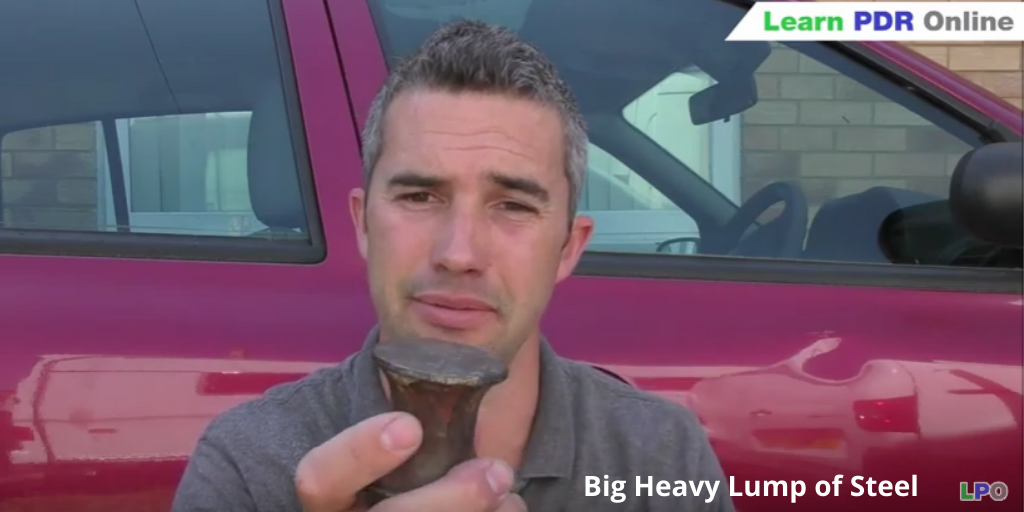
Use Plastic Dollies & Keep the Paintwork Intact
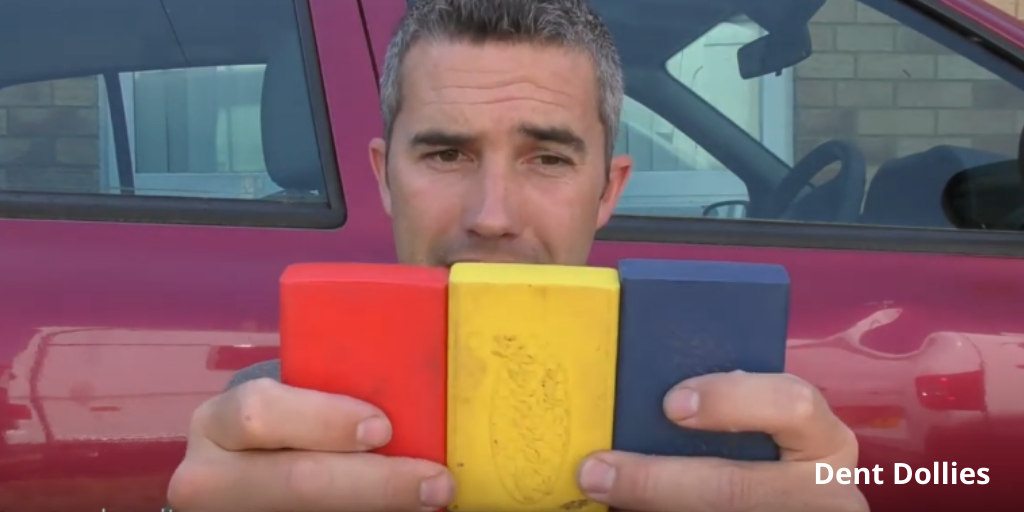
We need to keep that paintwork intact so we have rubber mallets, different tips and tools as well as plastic dollies. The most common are these three-piece sets from Dink craft with the main difference in the curve across the top edge. On the blue one for example it's pretty much just flat whereas the yellow has a slight curve on the top to kind of fit in with the contours of a panel whether it is curved out and in concave convex.
Finally the red one is slightly more curved across that top edge and allows you to put it up against the frame in different ways. These plastic dollies give us a nice support point and really focus that impact point as we're pushing to the metal in one particular area.
Understanding the Extent of the Damage
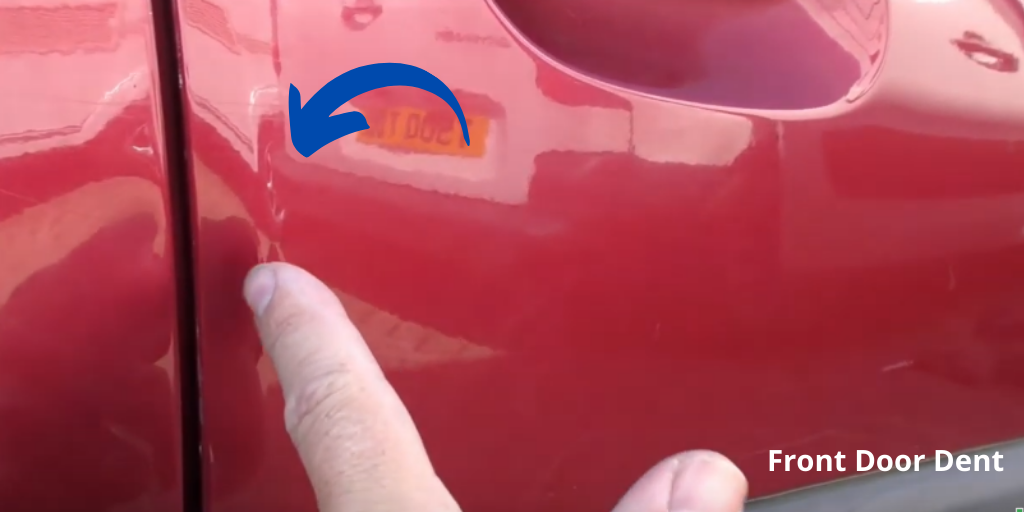
So let's take a closer look at the damage to the two door frames on the right hand side of the front door and the left hand side of the rear. On the front door the frame is pushed in and then coming across the rear tool we've got the most obvious dent here but the frame is actually pushed out so two different repairs two different techniques.
Let us use the dollies and as we take a look on the inside edge of this frame you can see where the panel starts to lose shape. It is bent so the damage has been pushed in to the left towards the inside of the car so we are going to push it back out again to straighten up that frame. Get the line to read right, I used to do this with a rubber mallet but it is difficult to get accuracy as you can risk damage in the inside sealer as well as the paint.
Be Accurate in Pushing the Metal
Get more accuracy across the frame using this blue one. You can see that as the door curves it creates that gap so we push that metal outwards and be careful not to let it slip. We switch to the red one which is the most curved and you can see the way it fits into that panel. it's much better in terms of the shape so we hold it up against the panel and see which one fits best.
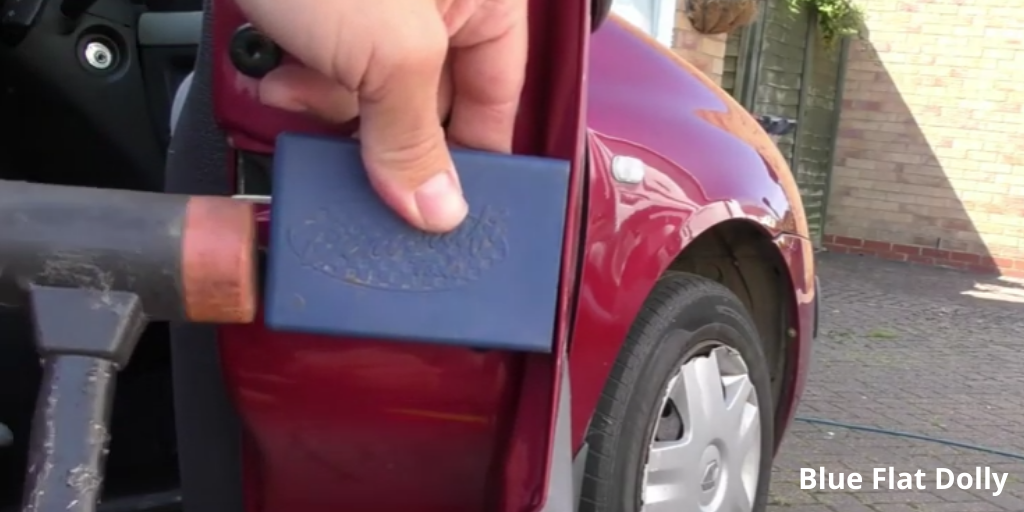
The dent is a flat section of panel so the blue flat dolly worked just fine here while getting that frame exactly where you want it. I'll use this blue one to start with because it's flat and it's going to give me a nice way of spreading the force of the hammer blow and pushing that kind of frame out in an even way.
I'm going to switch to the red because there's one section that's pulled in. I can now focus on that smaller area and again keep an eye on that frame the whole time. Check this against the adjacent panel and push this frame and quite quickly the majority of the shape is back.
Get that Frame Back Into the Right Shape
It's a real shame that it's split and cracked the paint which means we can't give it 100%. Those split paints always distort the lines and give you misleading interpretations of the highs and lows. It's always tricky when the paint is split plus you have to be very careful when you're using your tap down and hammer not to slip and take a chunk of the painter. As soon as we set our lineboard you can see straight away the distortion where that split in the paint has created a high.
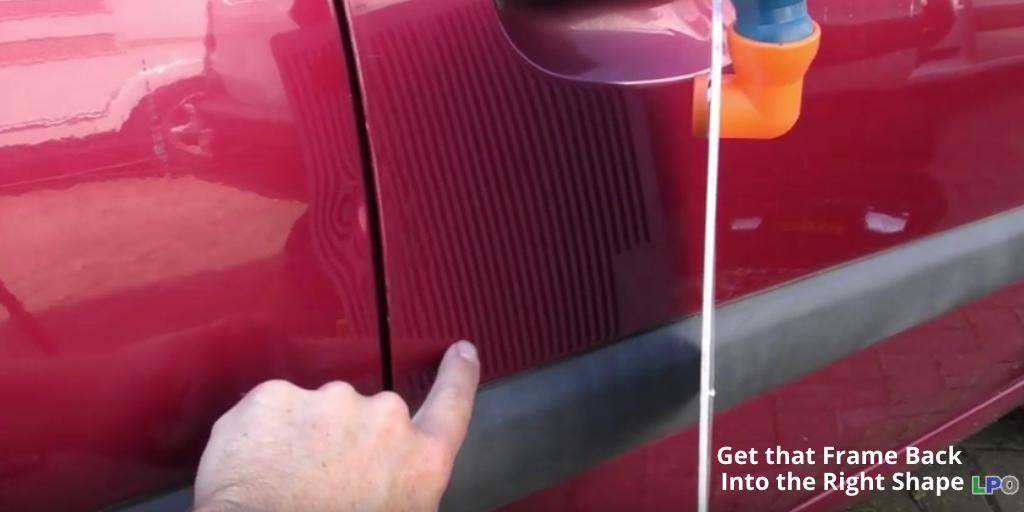
As we take a closer look across these panels now we have pretty much got that front door back into the right shape. We can now see the actual kind of frame line if it is back though there's a little bit of distortion where that split paint is but we've got that frame back into the right shape.
In the End….
Using that dent craft dolly to push the frame back out means we're now in the right shape. So indeed there is a tool specifically designed for doing these edges of frames which is the edge jack tool created by Shane Jacks. And as we take a closer look across these panels you can see the actual kind of frame line and it’s back into the right shape.
So this is part one and on part two we're going to take a look at fixing the damage on the rear door!
Learn these PDR techniques and upgrade! Join Us & level up your PDR skills!
